I built a sound-reactive RGB smart guitar


My last post was waaay back in June - high school has kept me too busy to start new projects, much less spend time blogging about them. Now that we're on break, I can finally get back to writing. To celebrate Thanksgiving, I'd like to share an old Arduino project of mine from about a year ago.
This build took a solid two or three months, and I submitted it as part of my magnet high school's admissions program. It's long since been destroyed, but I'm still really proud of the work I put into this; it required more difficult hardware and code setup than I'd imagined. The final result in my opinion looks pretty amazing.
Without further ado, I present:
 The all-new high-tech light-up sound-reactive microcontroller-driven battery-powered remote-controlled classical-style Smart Guitar©℗℠®™! Available now for a limited time only!
 Choking hazard; keep away from children two years of age or younger. Do not eat guitar. Guitar sold separately. Slightly radioactive. Use with caution. Not tested on animals. Keep arms, legs, and head inside the vehicle at all times. Do not breathe on the product as this will void your warranty. Smart Guitar Co. Ltd. Incorporated .com ©℗℠®™ is not responsible for personal injury or property damage caused by this item.
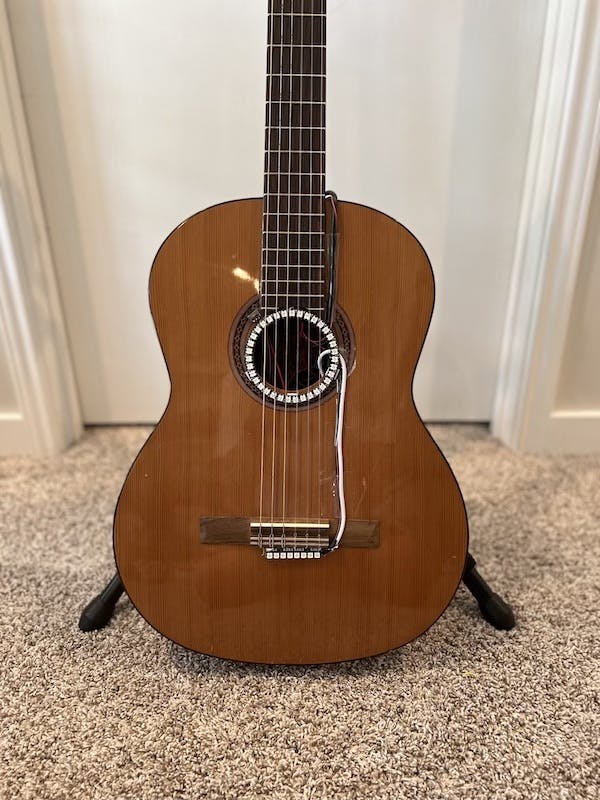
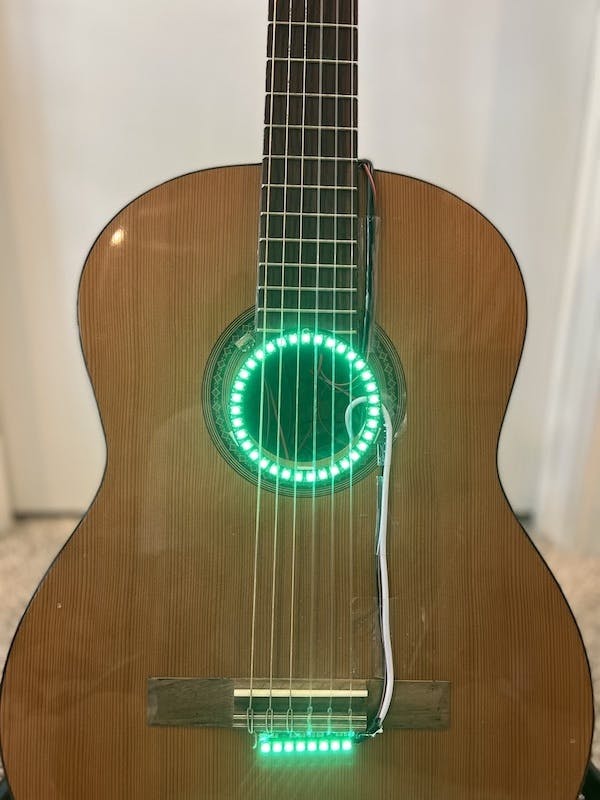
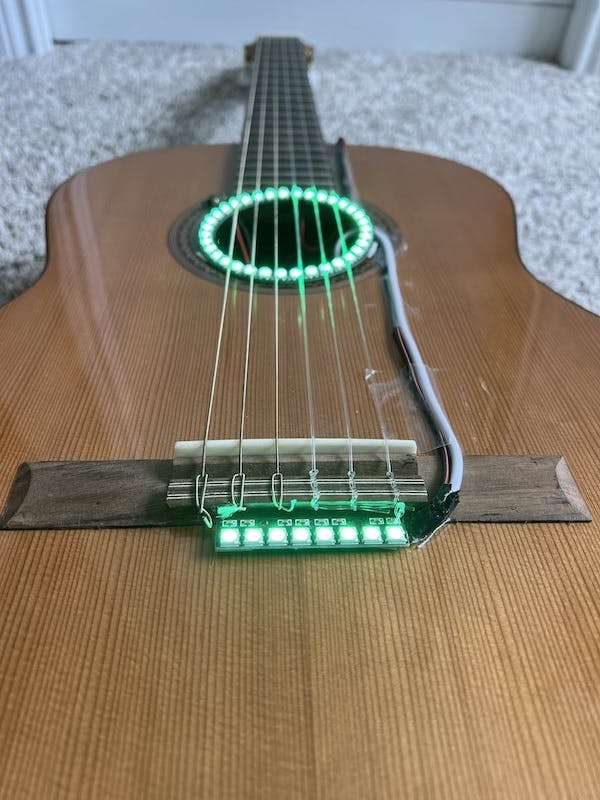
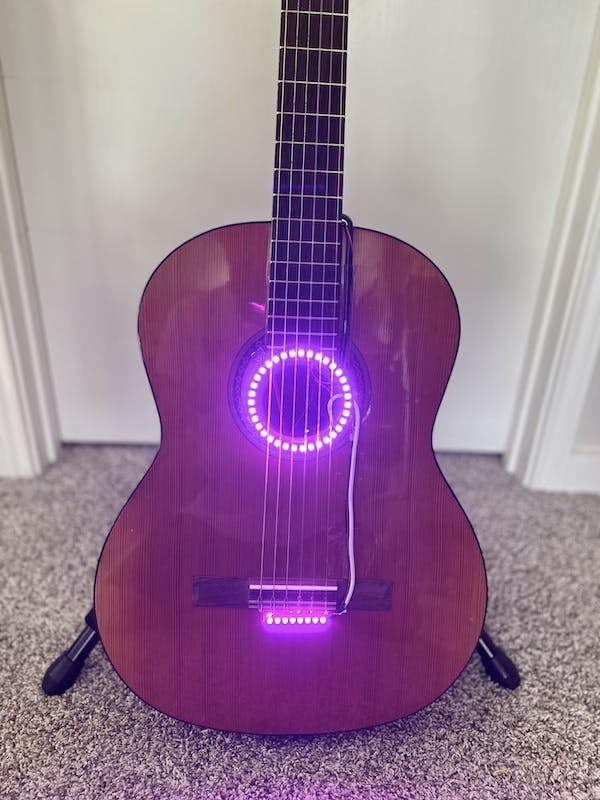
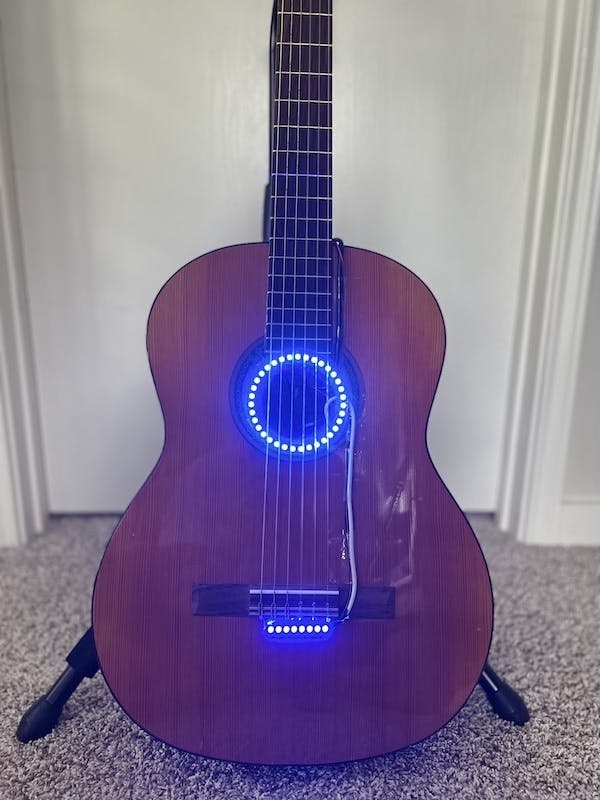
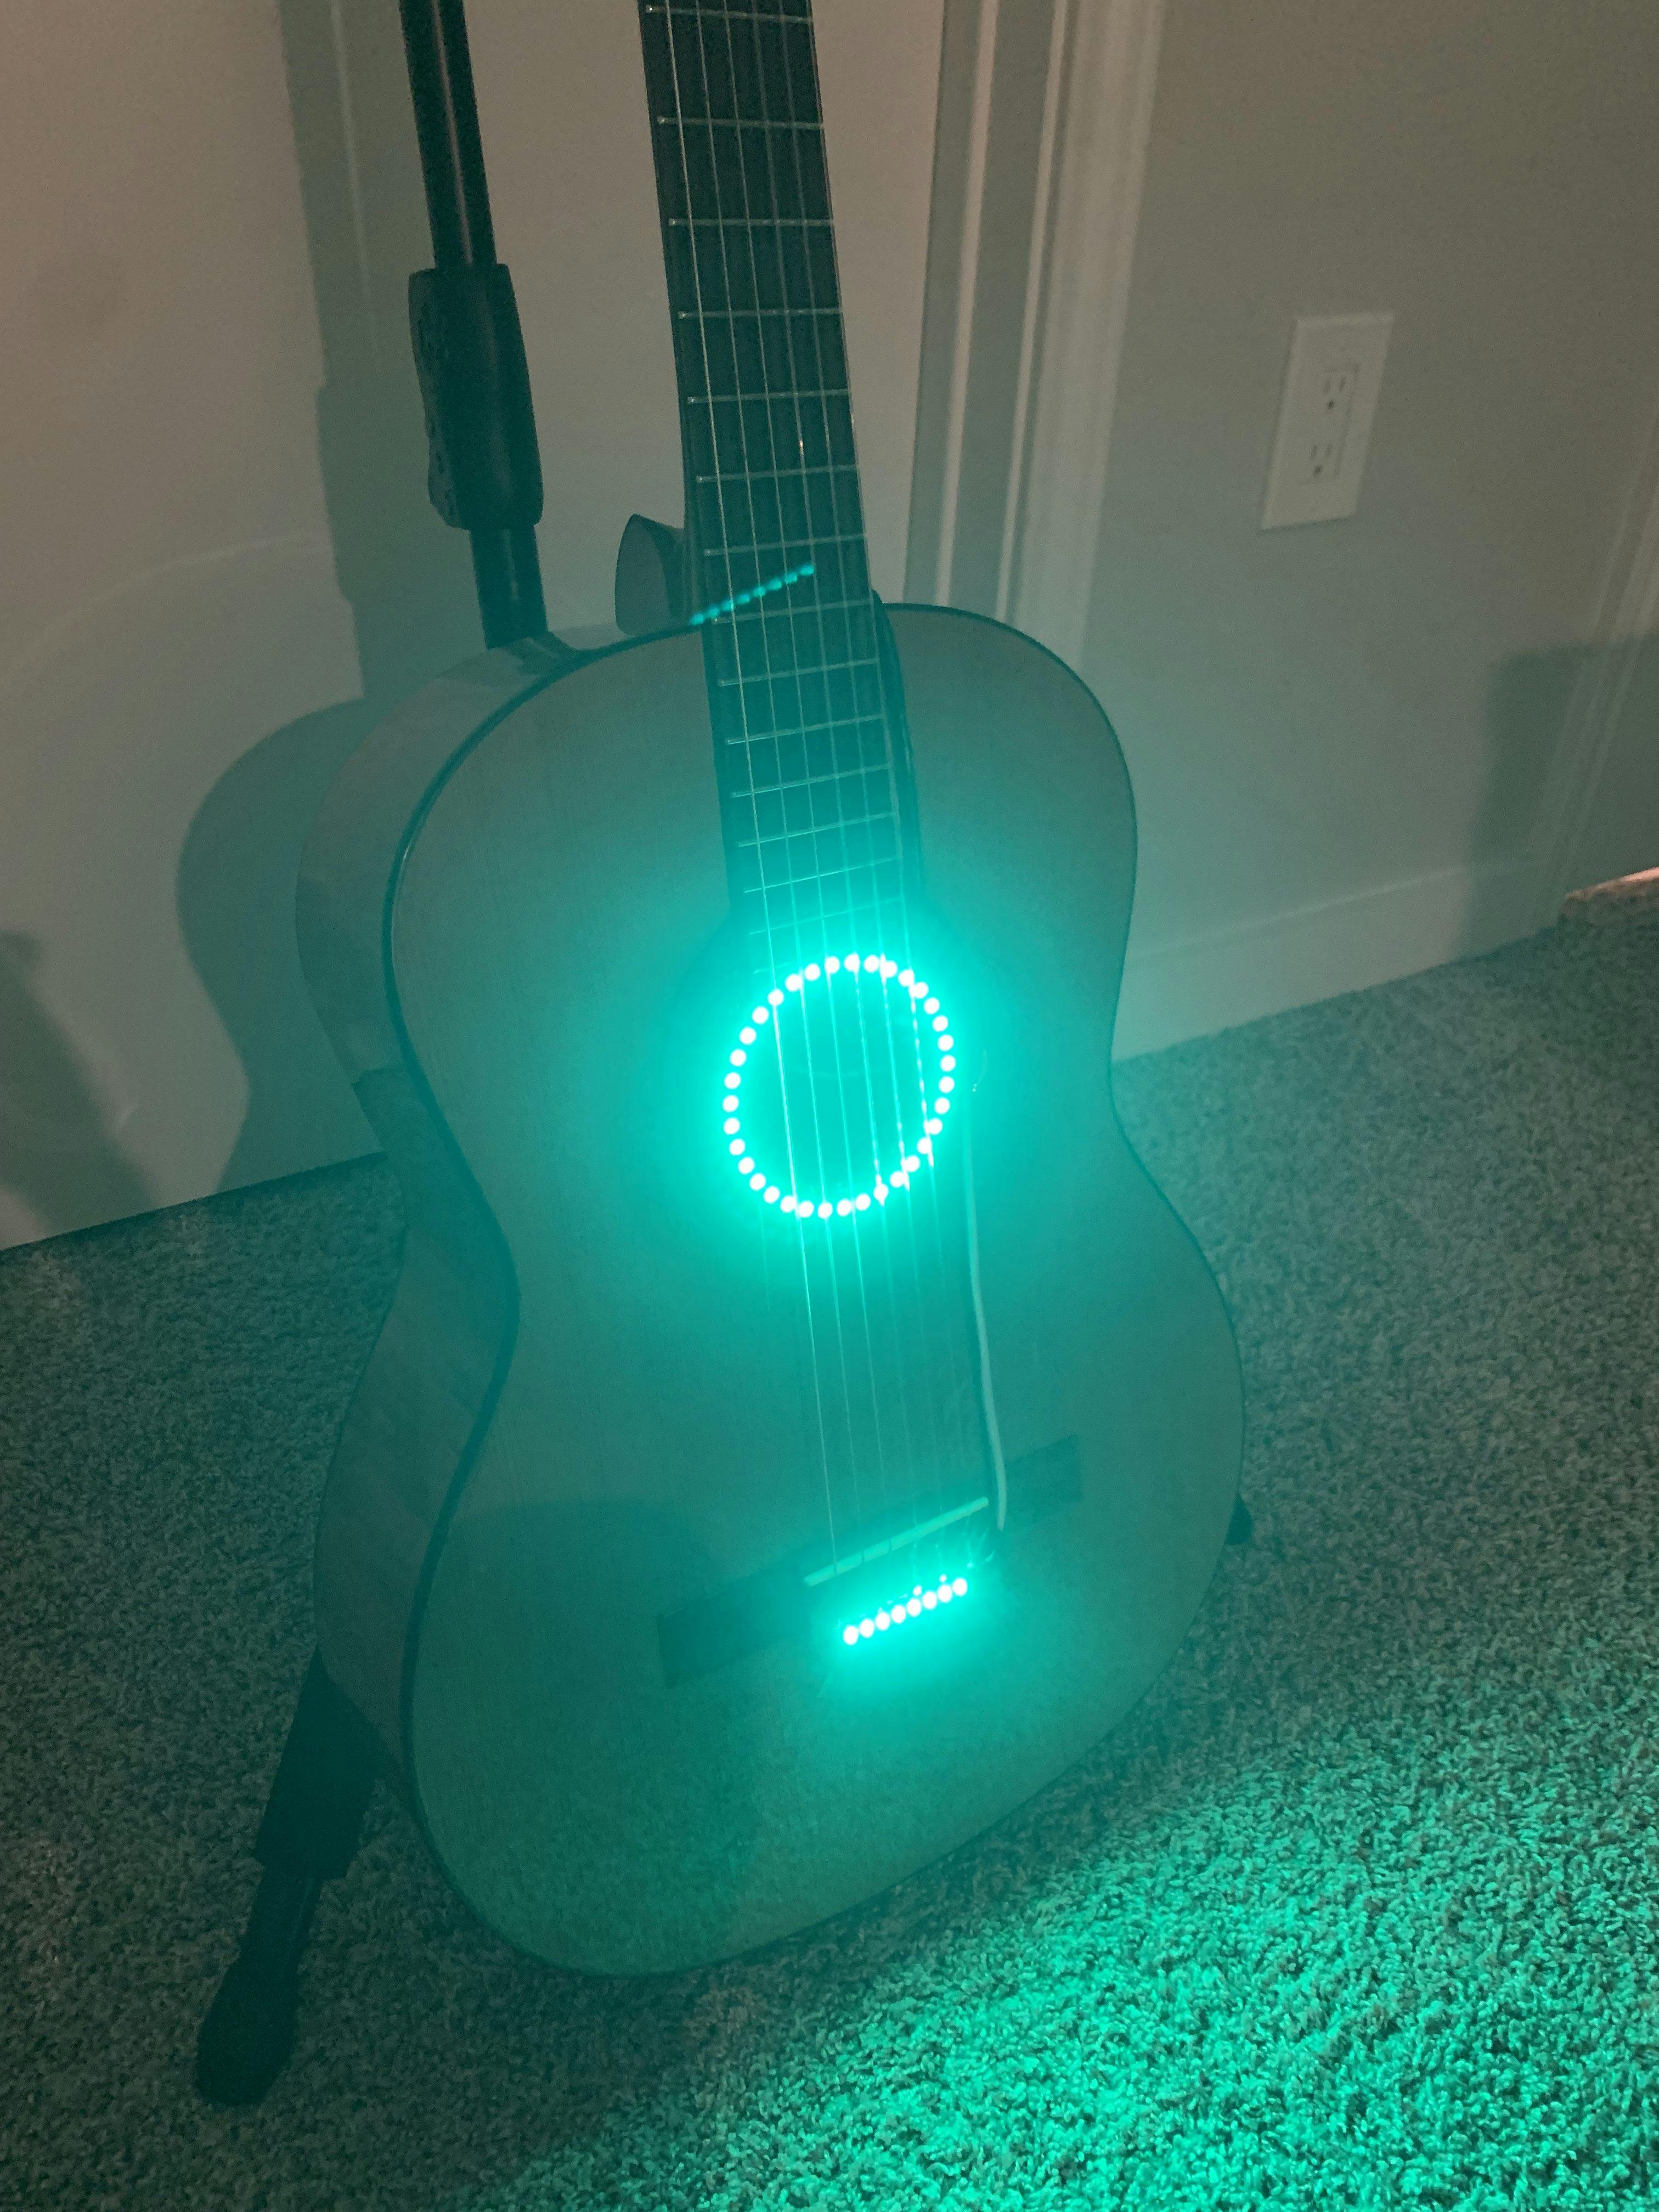
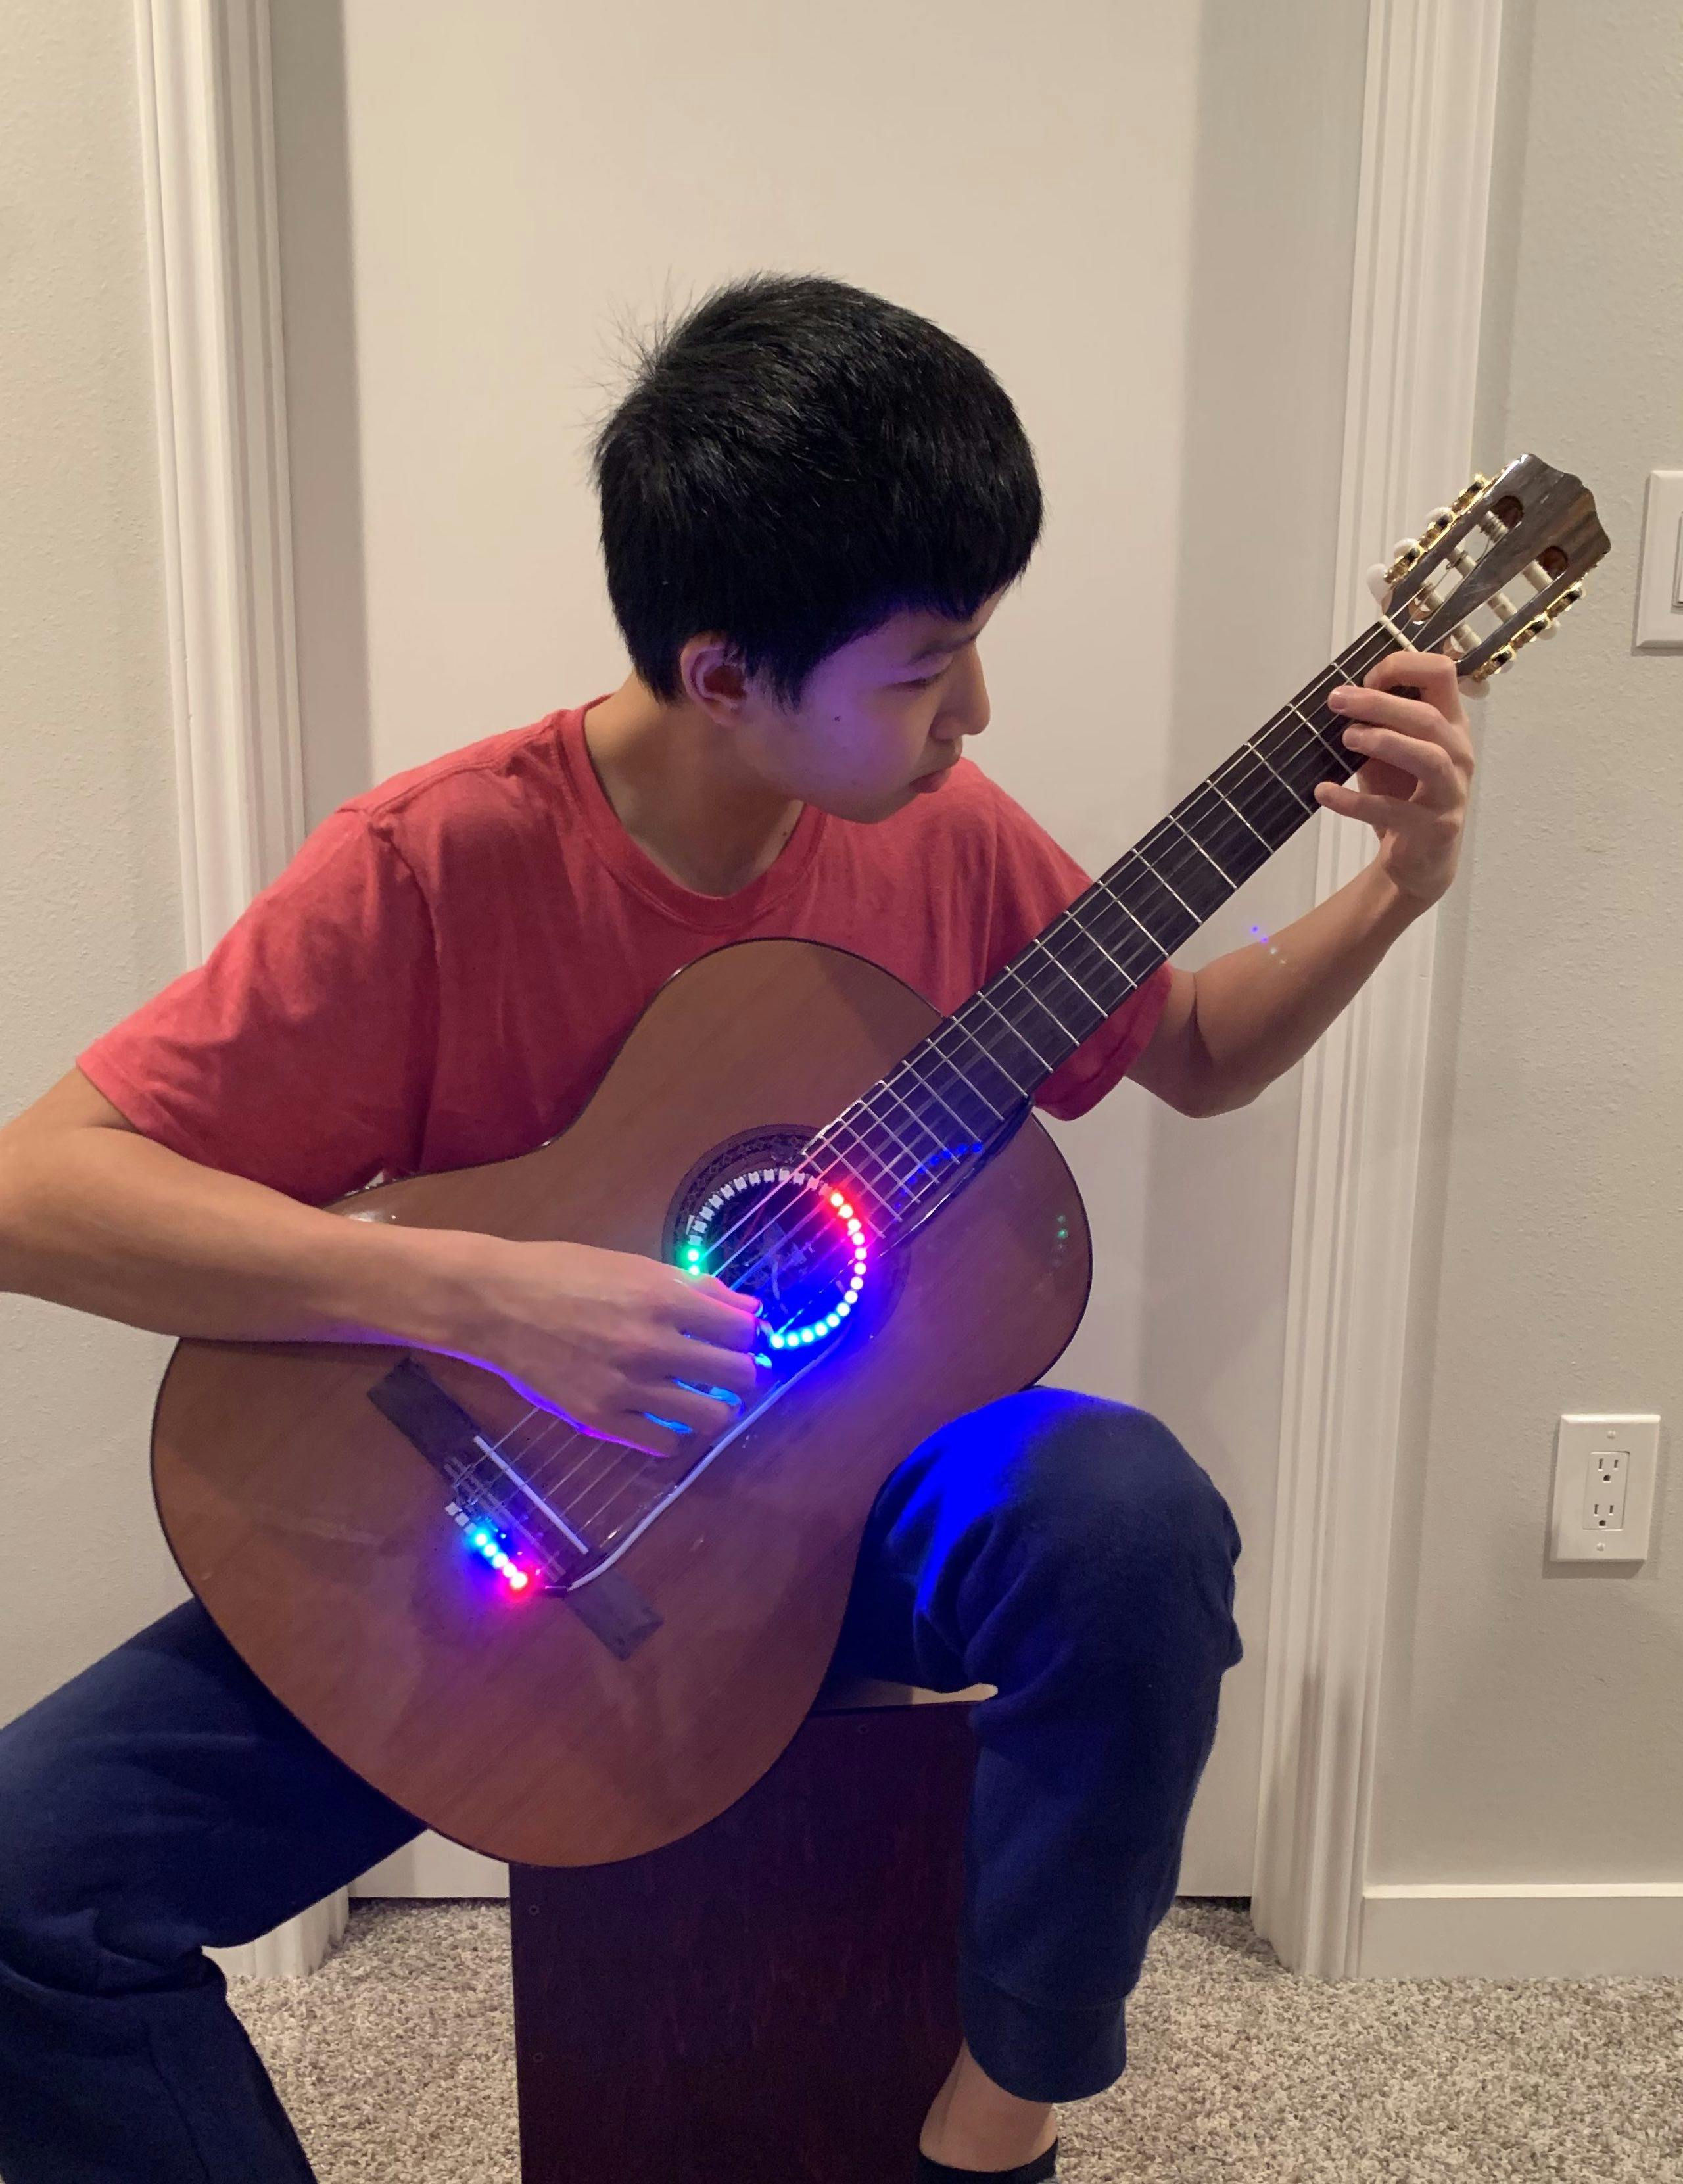
For this project, I modified my classical guitar with lights around the sound hole and bridge to react to your playing, as well as several other capabilities.
Below is a description of this project’s main components and features:
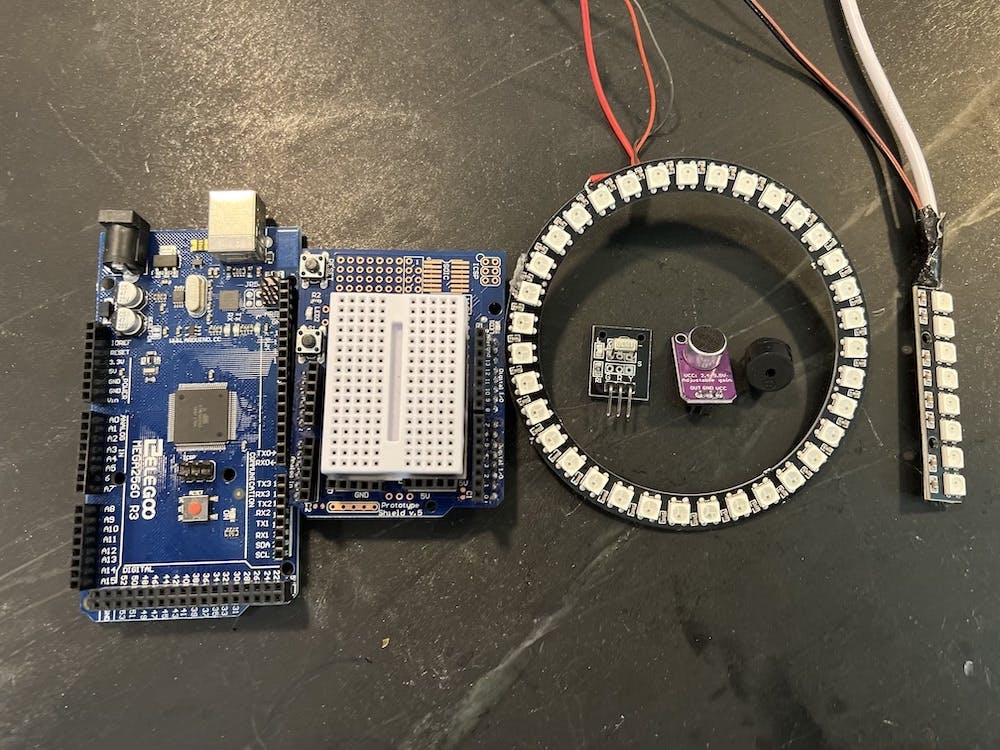
Powered by an Arduino: I initially selected the Arduino Uno for this project but had to switch to the Mega due to low memory capacity. It’s still small enough to fit inside the sound hole and be embedded inside the guitar.
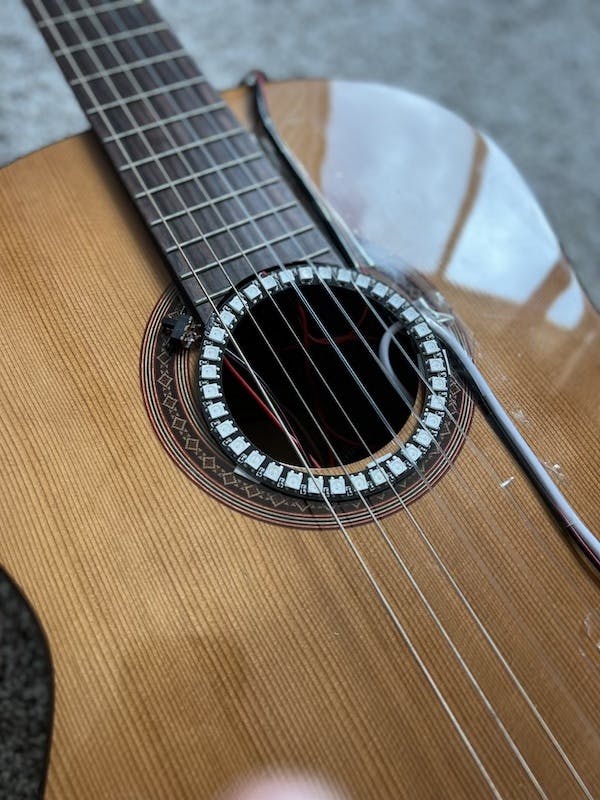
RGB Lights: There are 45 individually addressed and programmable Neopixels: 35 around the sound hole and 10 on the bridge.
Sound Reactive: I used a tiny electret microphone, attached to the Arduino, to capture sound waves and convert them into a processable format.
Remote Controlled: There is an infrared receiver positioned inside the guitar, with a separate remote that can be used to control the code and switch between modes or colors.
Battery Powered: Plugging anything into a wall socket can be a hassle, so I went ahead and designed the entire system to run on a USB battery pack power source.
Modes
There are four modes that you can use on the guitar to switch between all of its different functions. This is done by pressing the corresponding button on the remote.
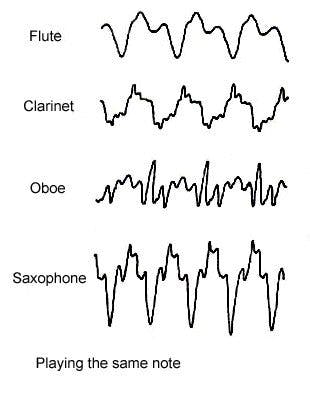
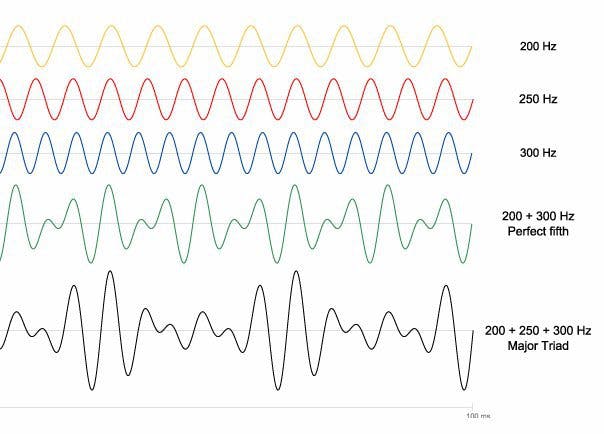
Chord Mode (press C on the remote): When you play a chord on a guitar, it's more difficult than it seems to get the underlying notes from a single microphone sensor. First of all, all instruments make slightly different sine waves when playing a single note. And secondly, playing a chord results in not three separate sound waves, but a combination of all three in a new periodic waveform due to constructive interference.
Fourier analysis is used to deconstruct the original sound wave frequencies. My calculus isn't quite up to scratch, so I used this code to detect chords. It's based on the EasyFFT library, which is designed to perform advanced math on microcontrollers.
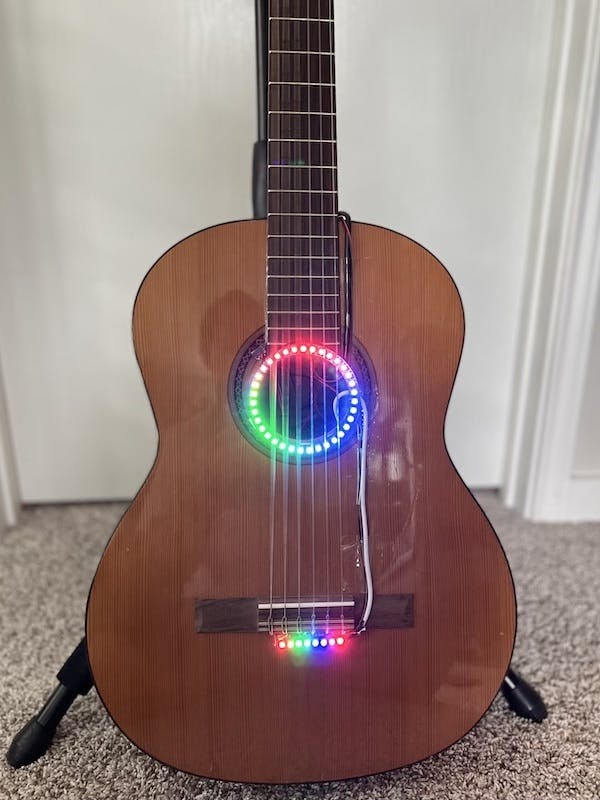
I then programmed the Arduino to fade the color of the lights based on the chord played (for example, A chords turn the lights red, C turns them yellow, E turns them blue, etc.)
Volume Mode (press V): This was designed to look like a decibel meter, where the number of lights goes up the louder you play. Quiet notes will light up one or two, while a loud strum will light them all in a rainbow. This one is easier to see than explain, so be sure to check out the video demo below.
Tuning Mode (press T): Losing my tuner is always annoying, and I never have time to get an external tuning source like a piano. I used a small piezo speaker, attached to the Arduino, that plays accurate notes corresponding to each of the strings for fast and convenient tuning.
Remote Mode (press R): The last mode lets you change the colors of the lights to your own liking. This is done with each of the sixteen preprogrammed color buttons on the remote.
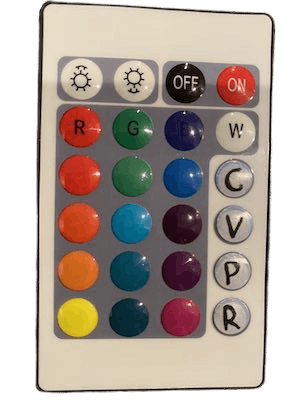 The remote used to control my project was salvaged from an old color-changing lamp. In order to make my Arduino compatible, I wrote a program to find out the infrared signal emitted by the remote for each button.
Power
NeoPixels eat up a lot of power. They only use 5 volts, but at full brightness, they need 60 milliamps of current each. All 45 lights in my project needed 2.7 amps of power.
I considered using a LiPo battery, but it wouldn't last very long at such a high current draw. I used a USB battery pack mounted on the back of my guitar instead. It was bulky and inconvenient, but it would ensure that the power supply was consistent and long-lasting. Cutting, stripping, and soldering USB cables, I used one port to power each ring, running the cables along the fretboard.
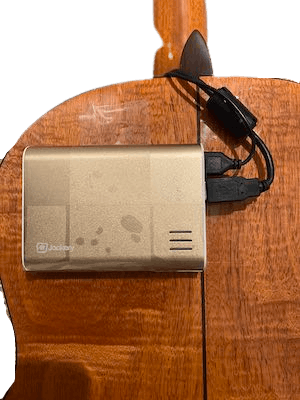 The USB battery pack used to power the project.
Photo Gallery