


If you haven't read the first part of this post, check it out here.
We finally did it! After three months of intense planning, fundraising, constructing, and painstakingly programming our creation, we completed the Algebra 2 Rubik's Cube project.
I'm going to go over the numbers again because they still blow my mind:
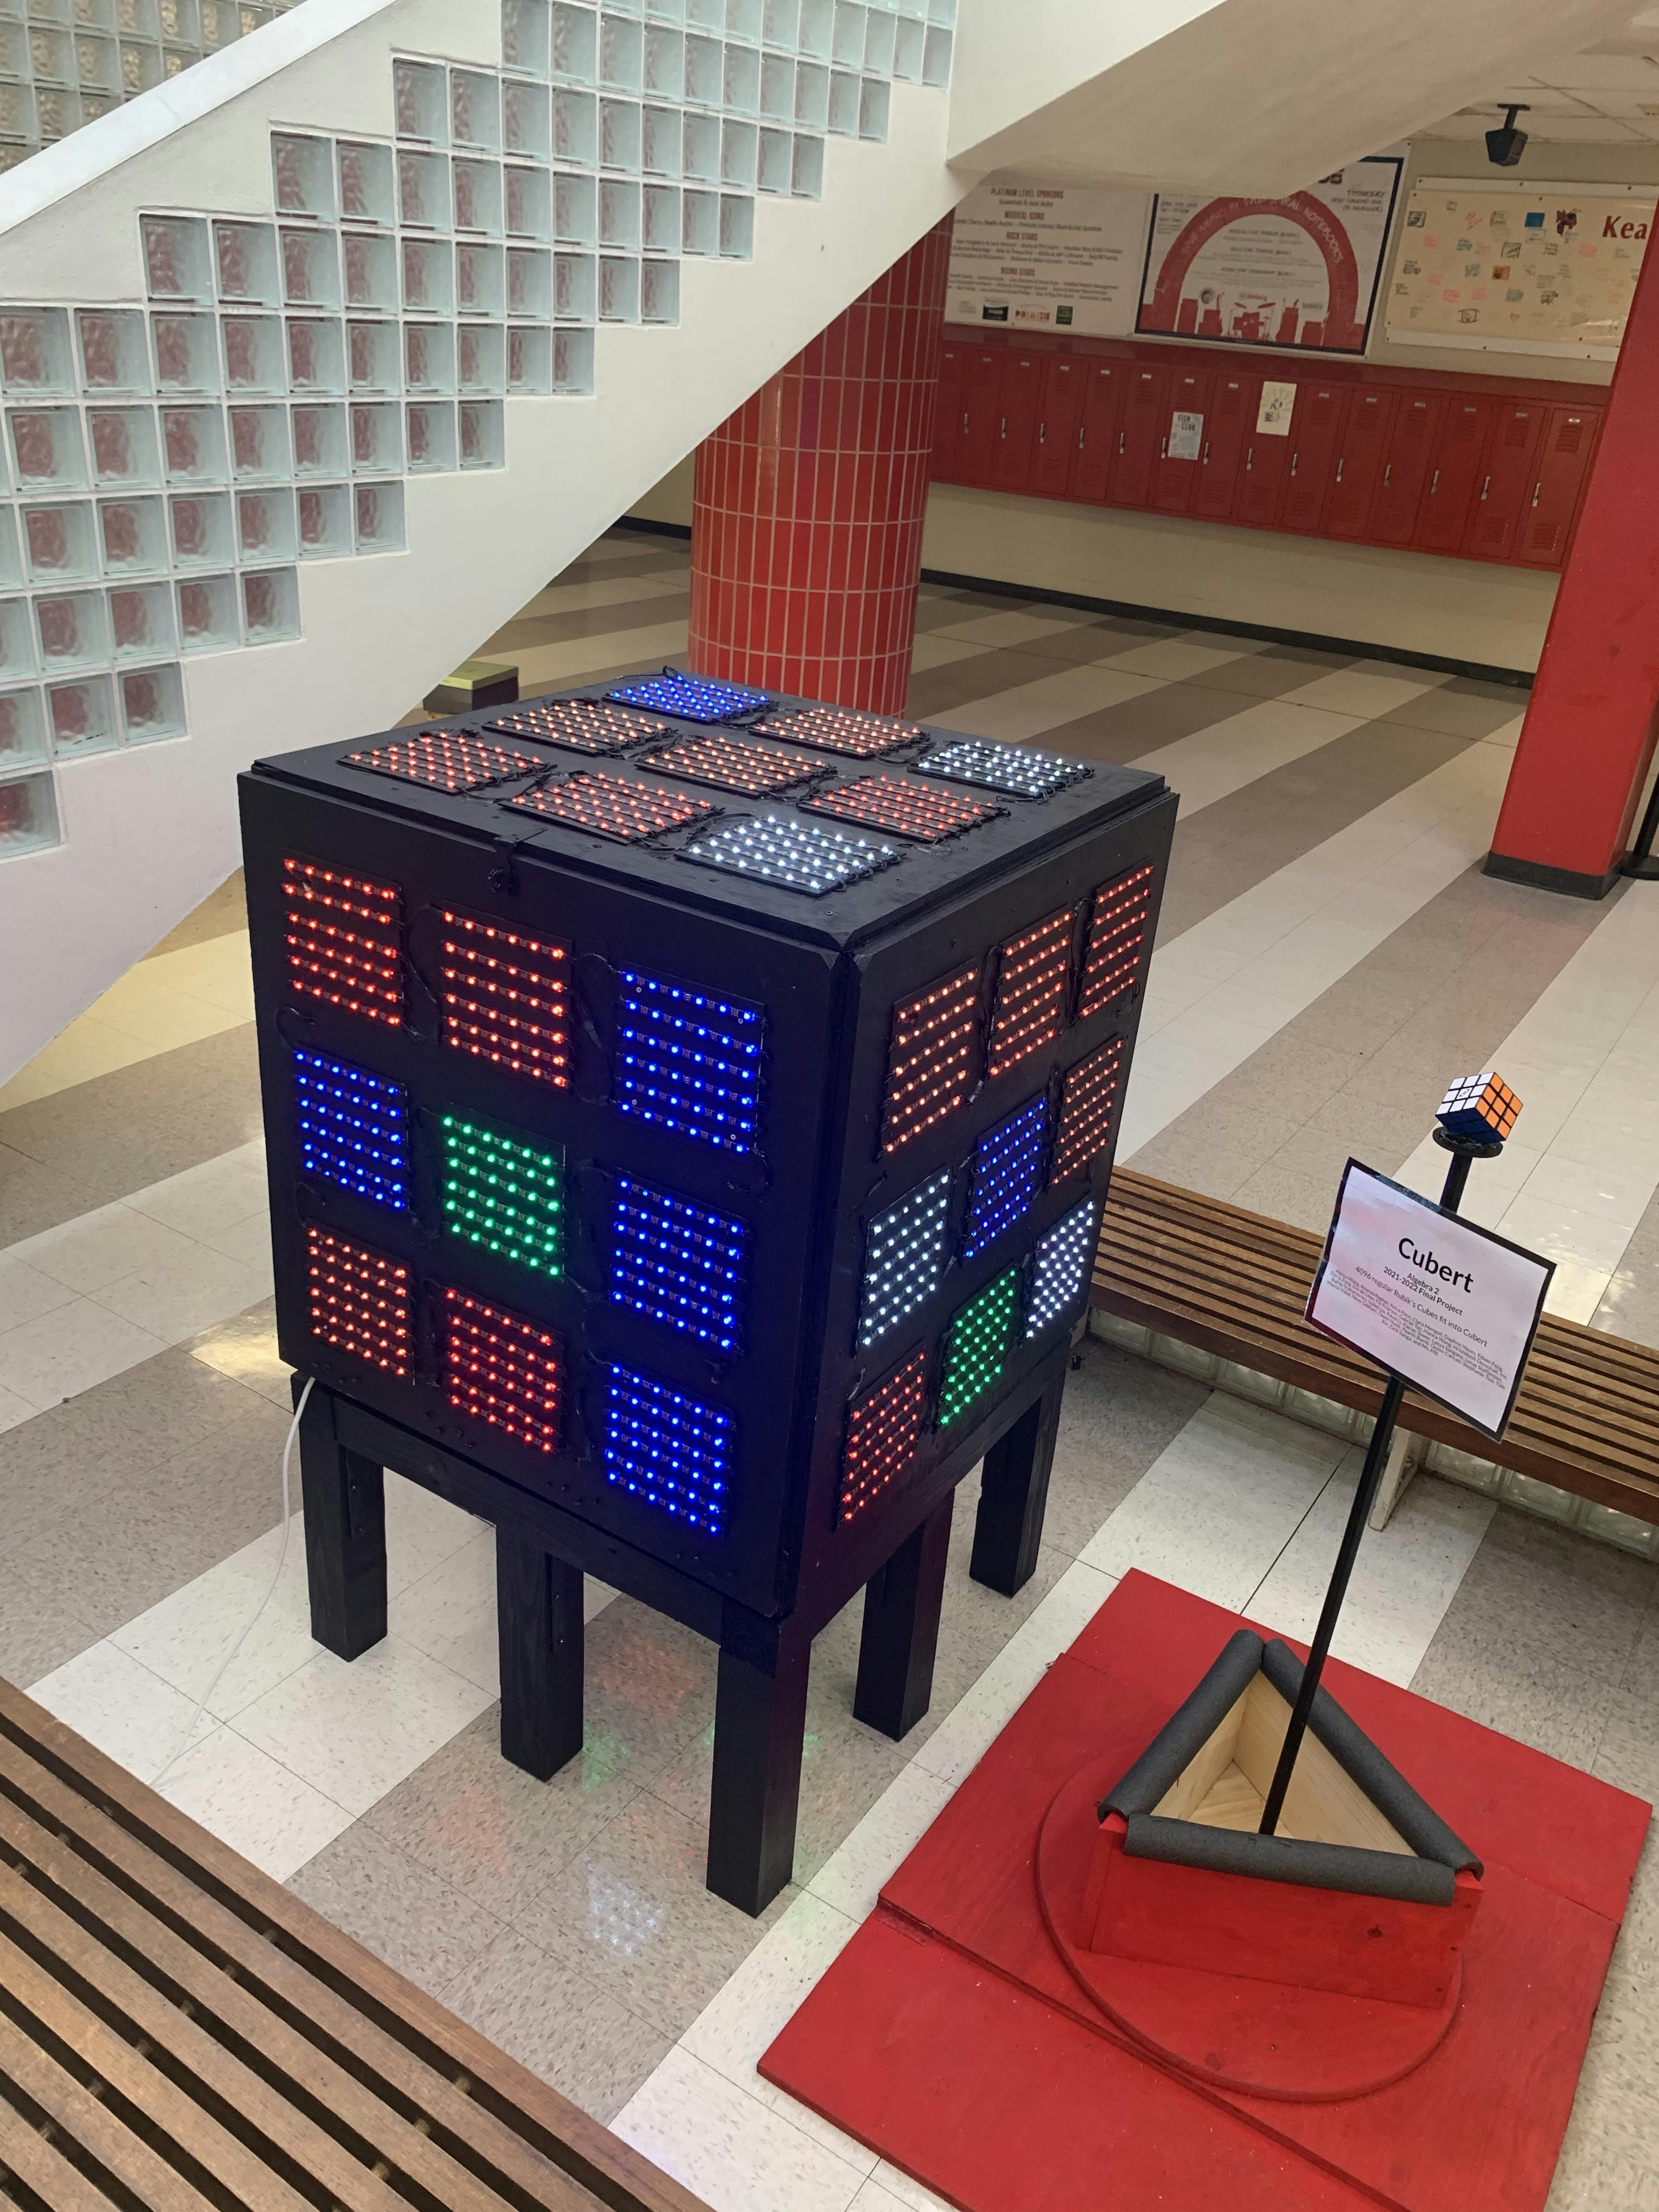
- 3ft x 3ft x 3ft
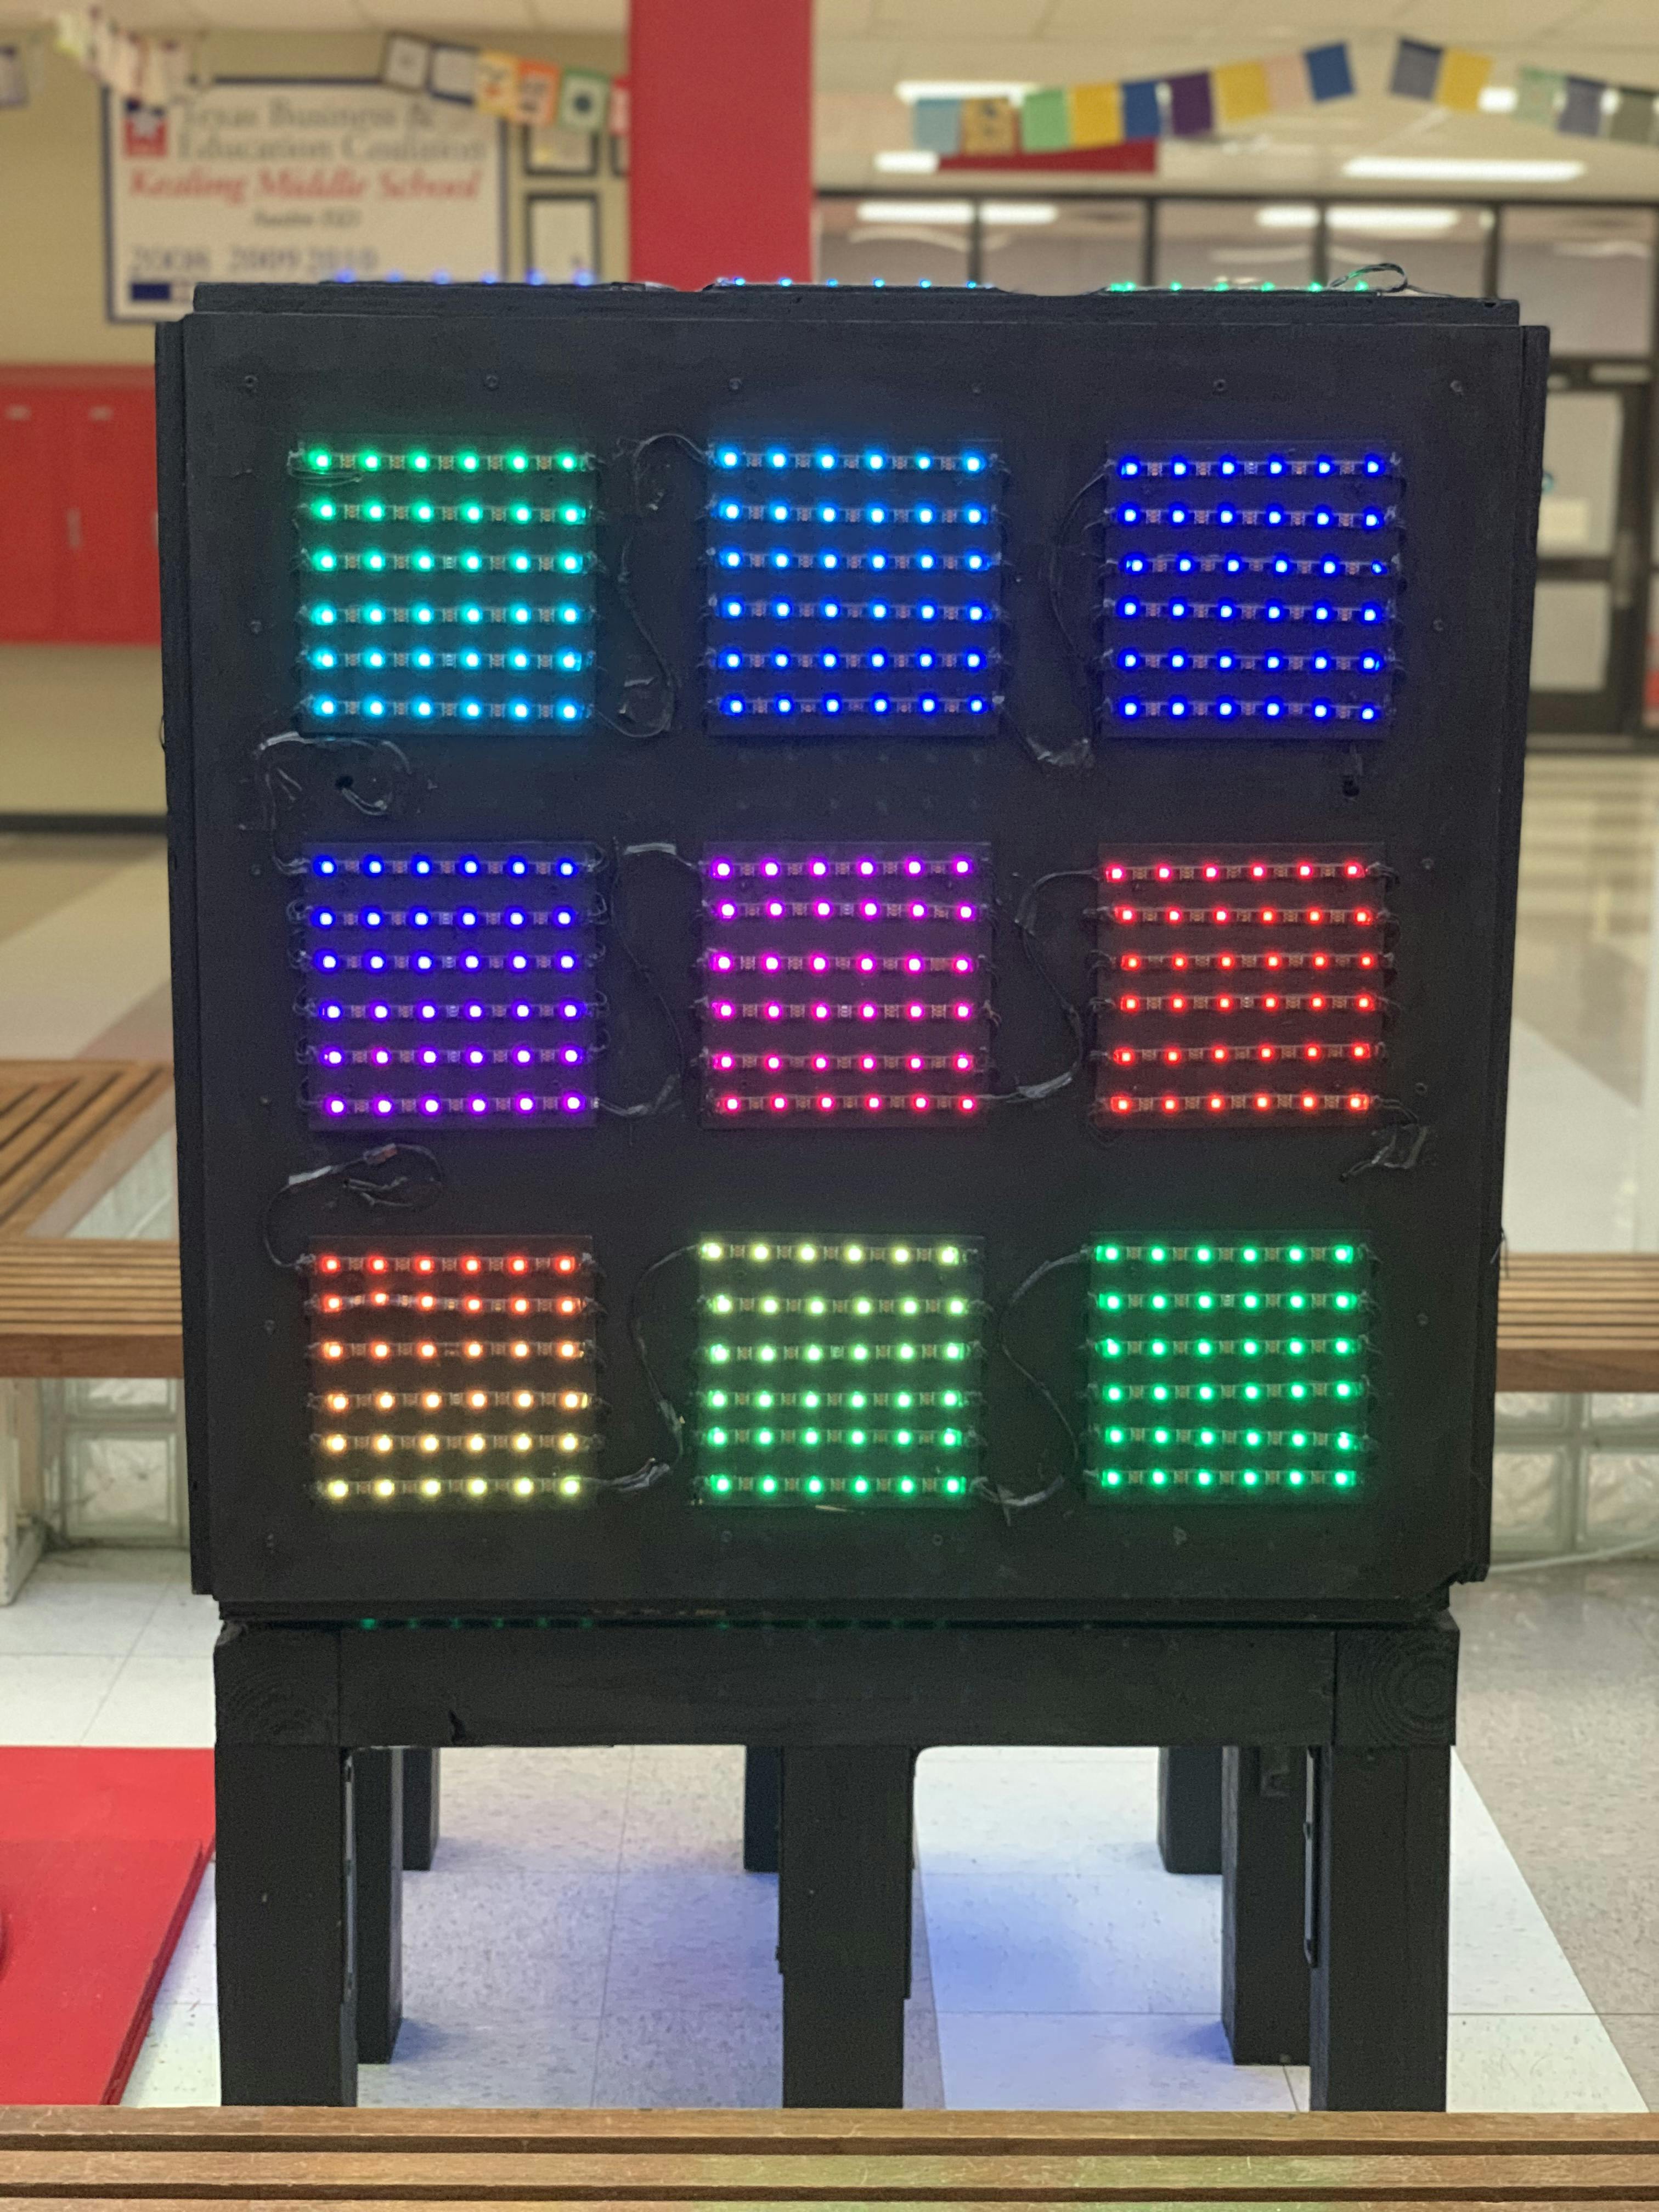
- 54 individual panels representing stickers of the cube
- 1,944 NeoPixel lights blanketing all 6 surfaces
- Several hundred pounds of wood
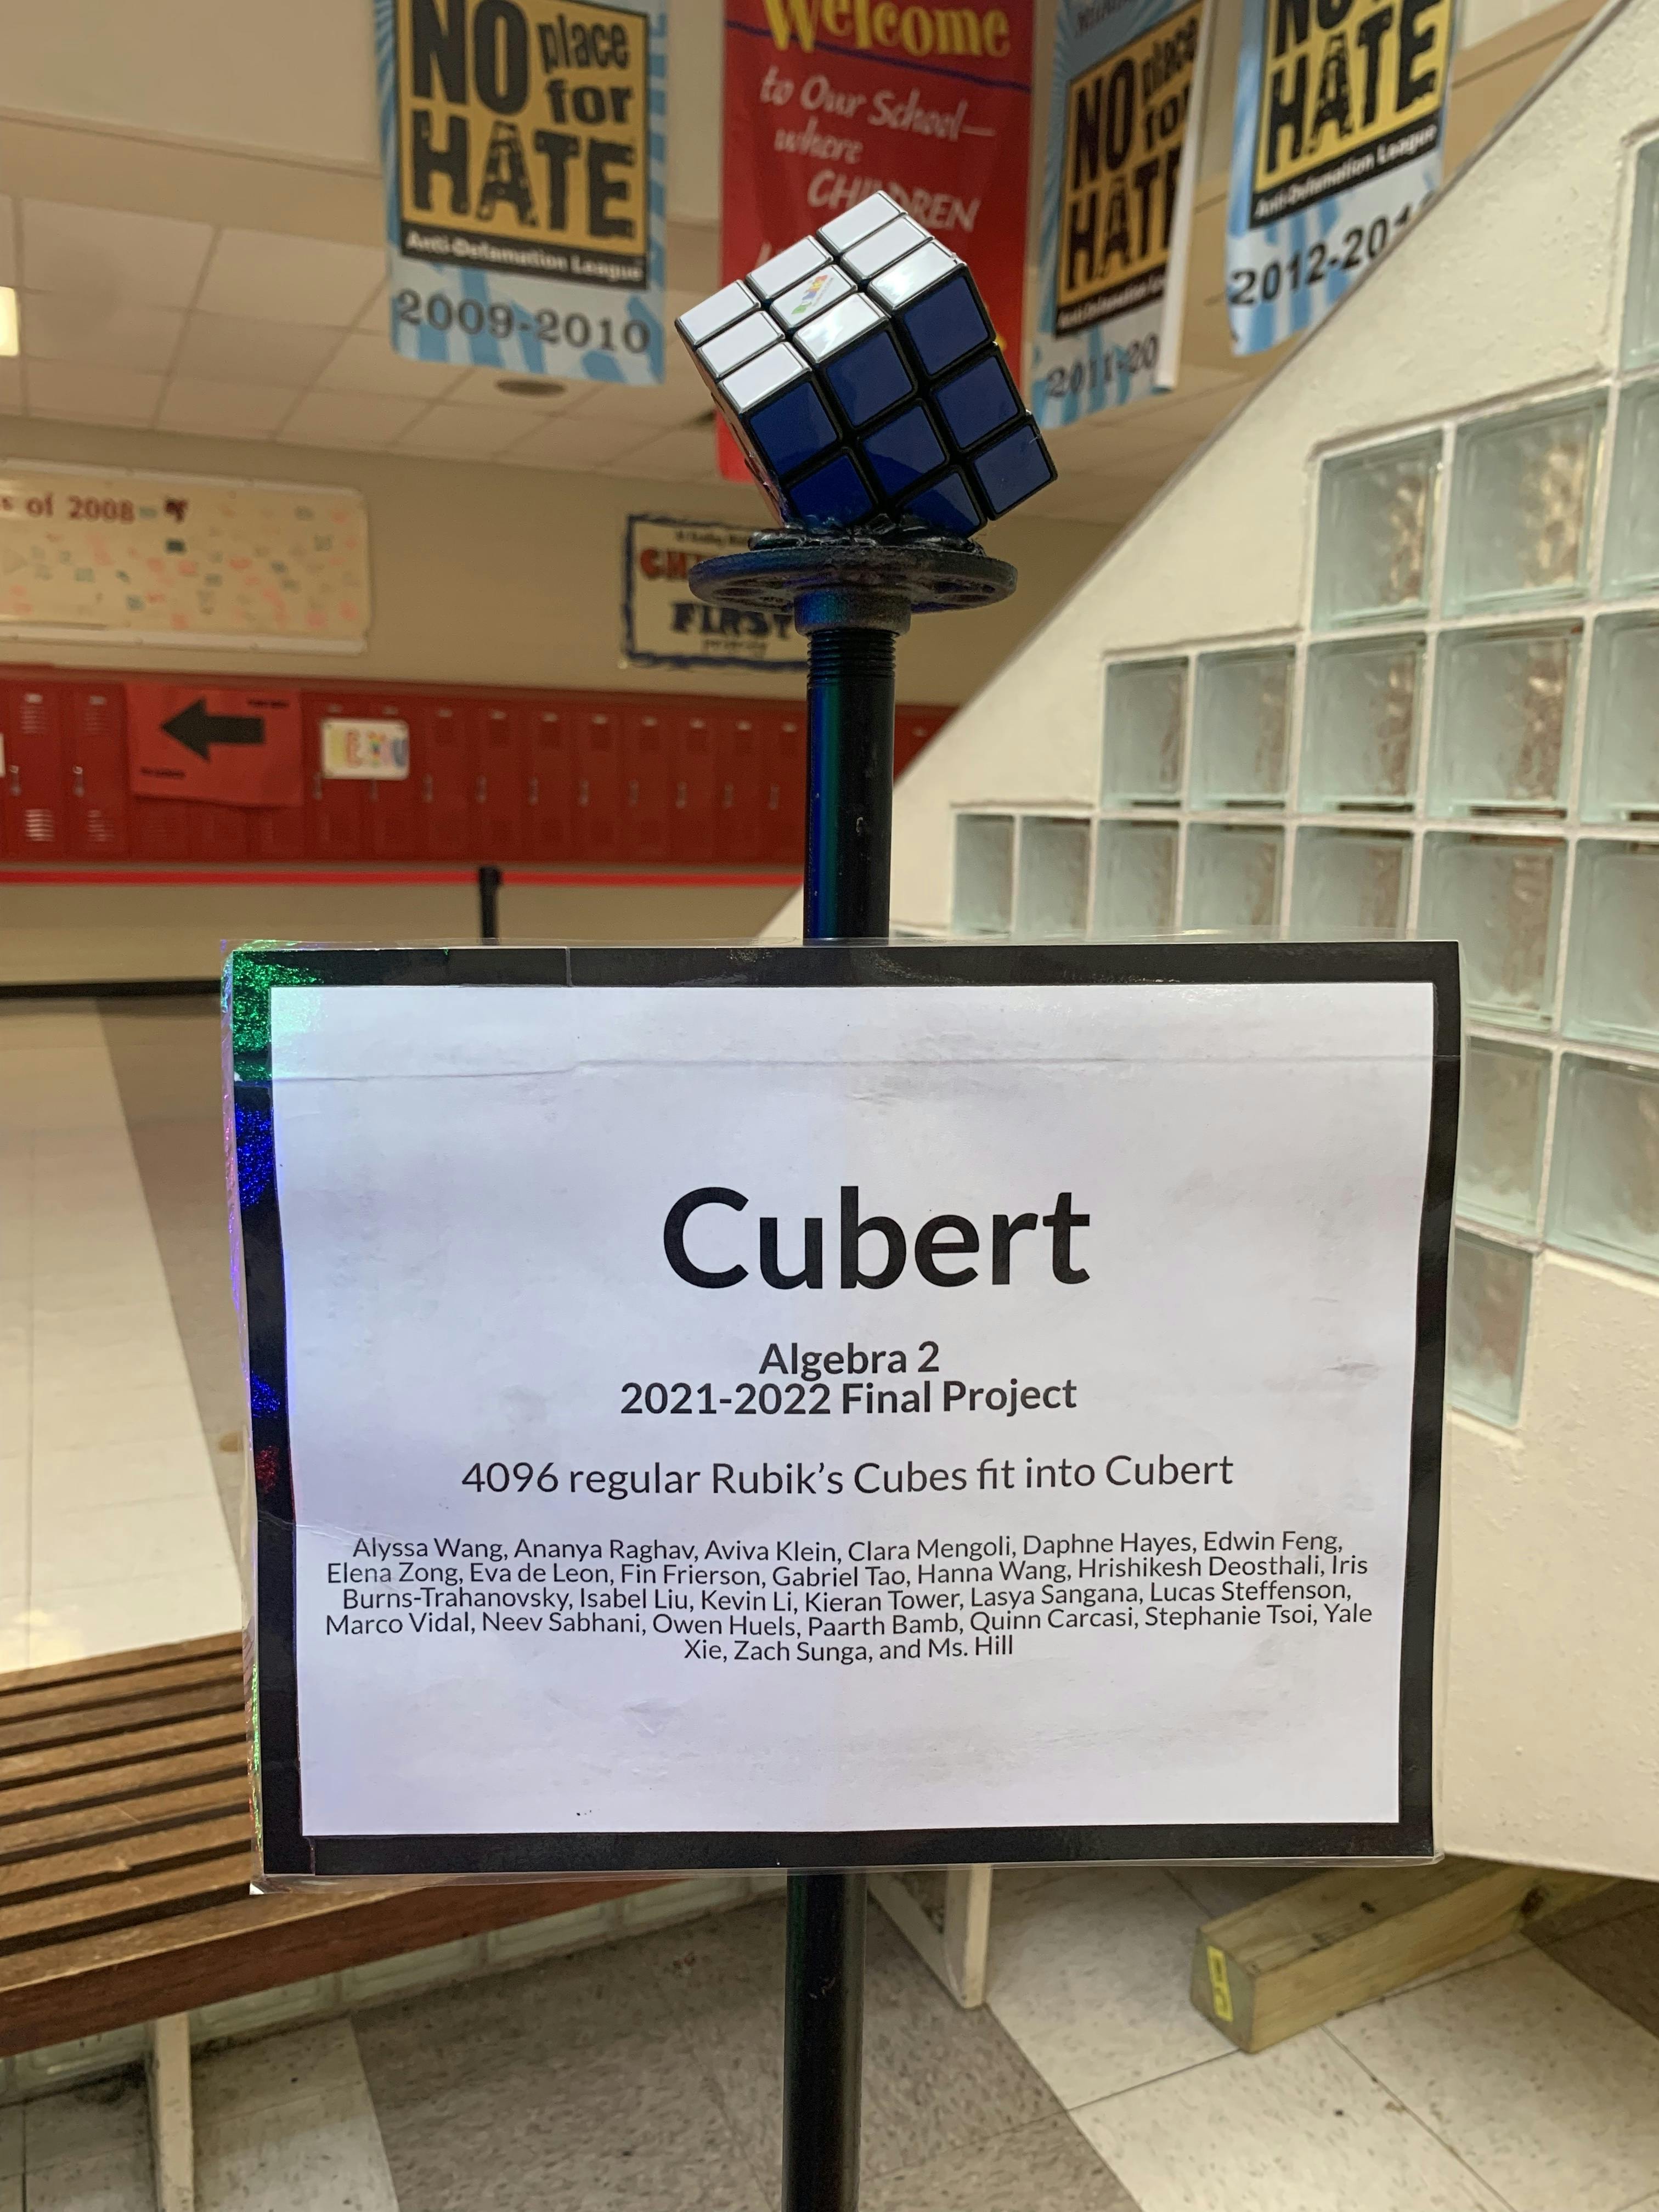
- 4,096 times bigger than a normal Rubik's Cube
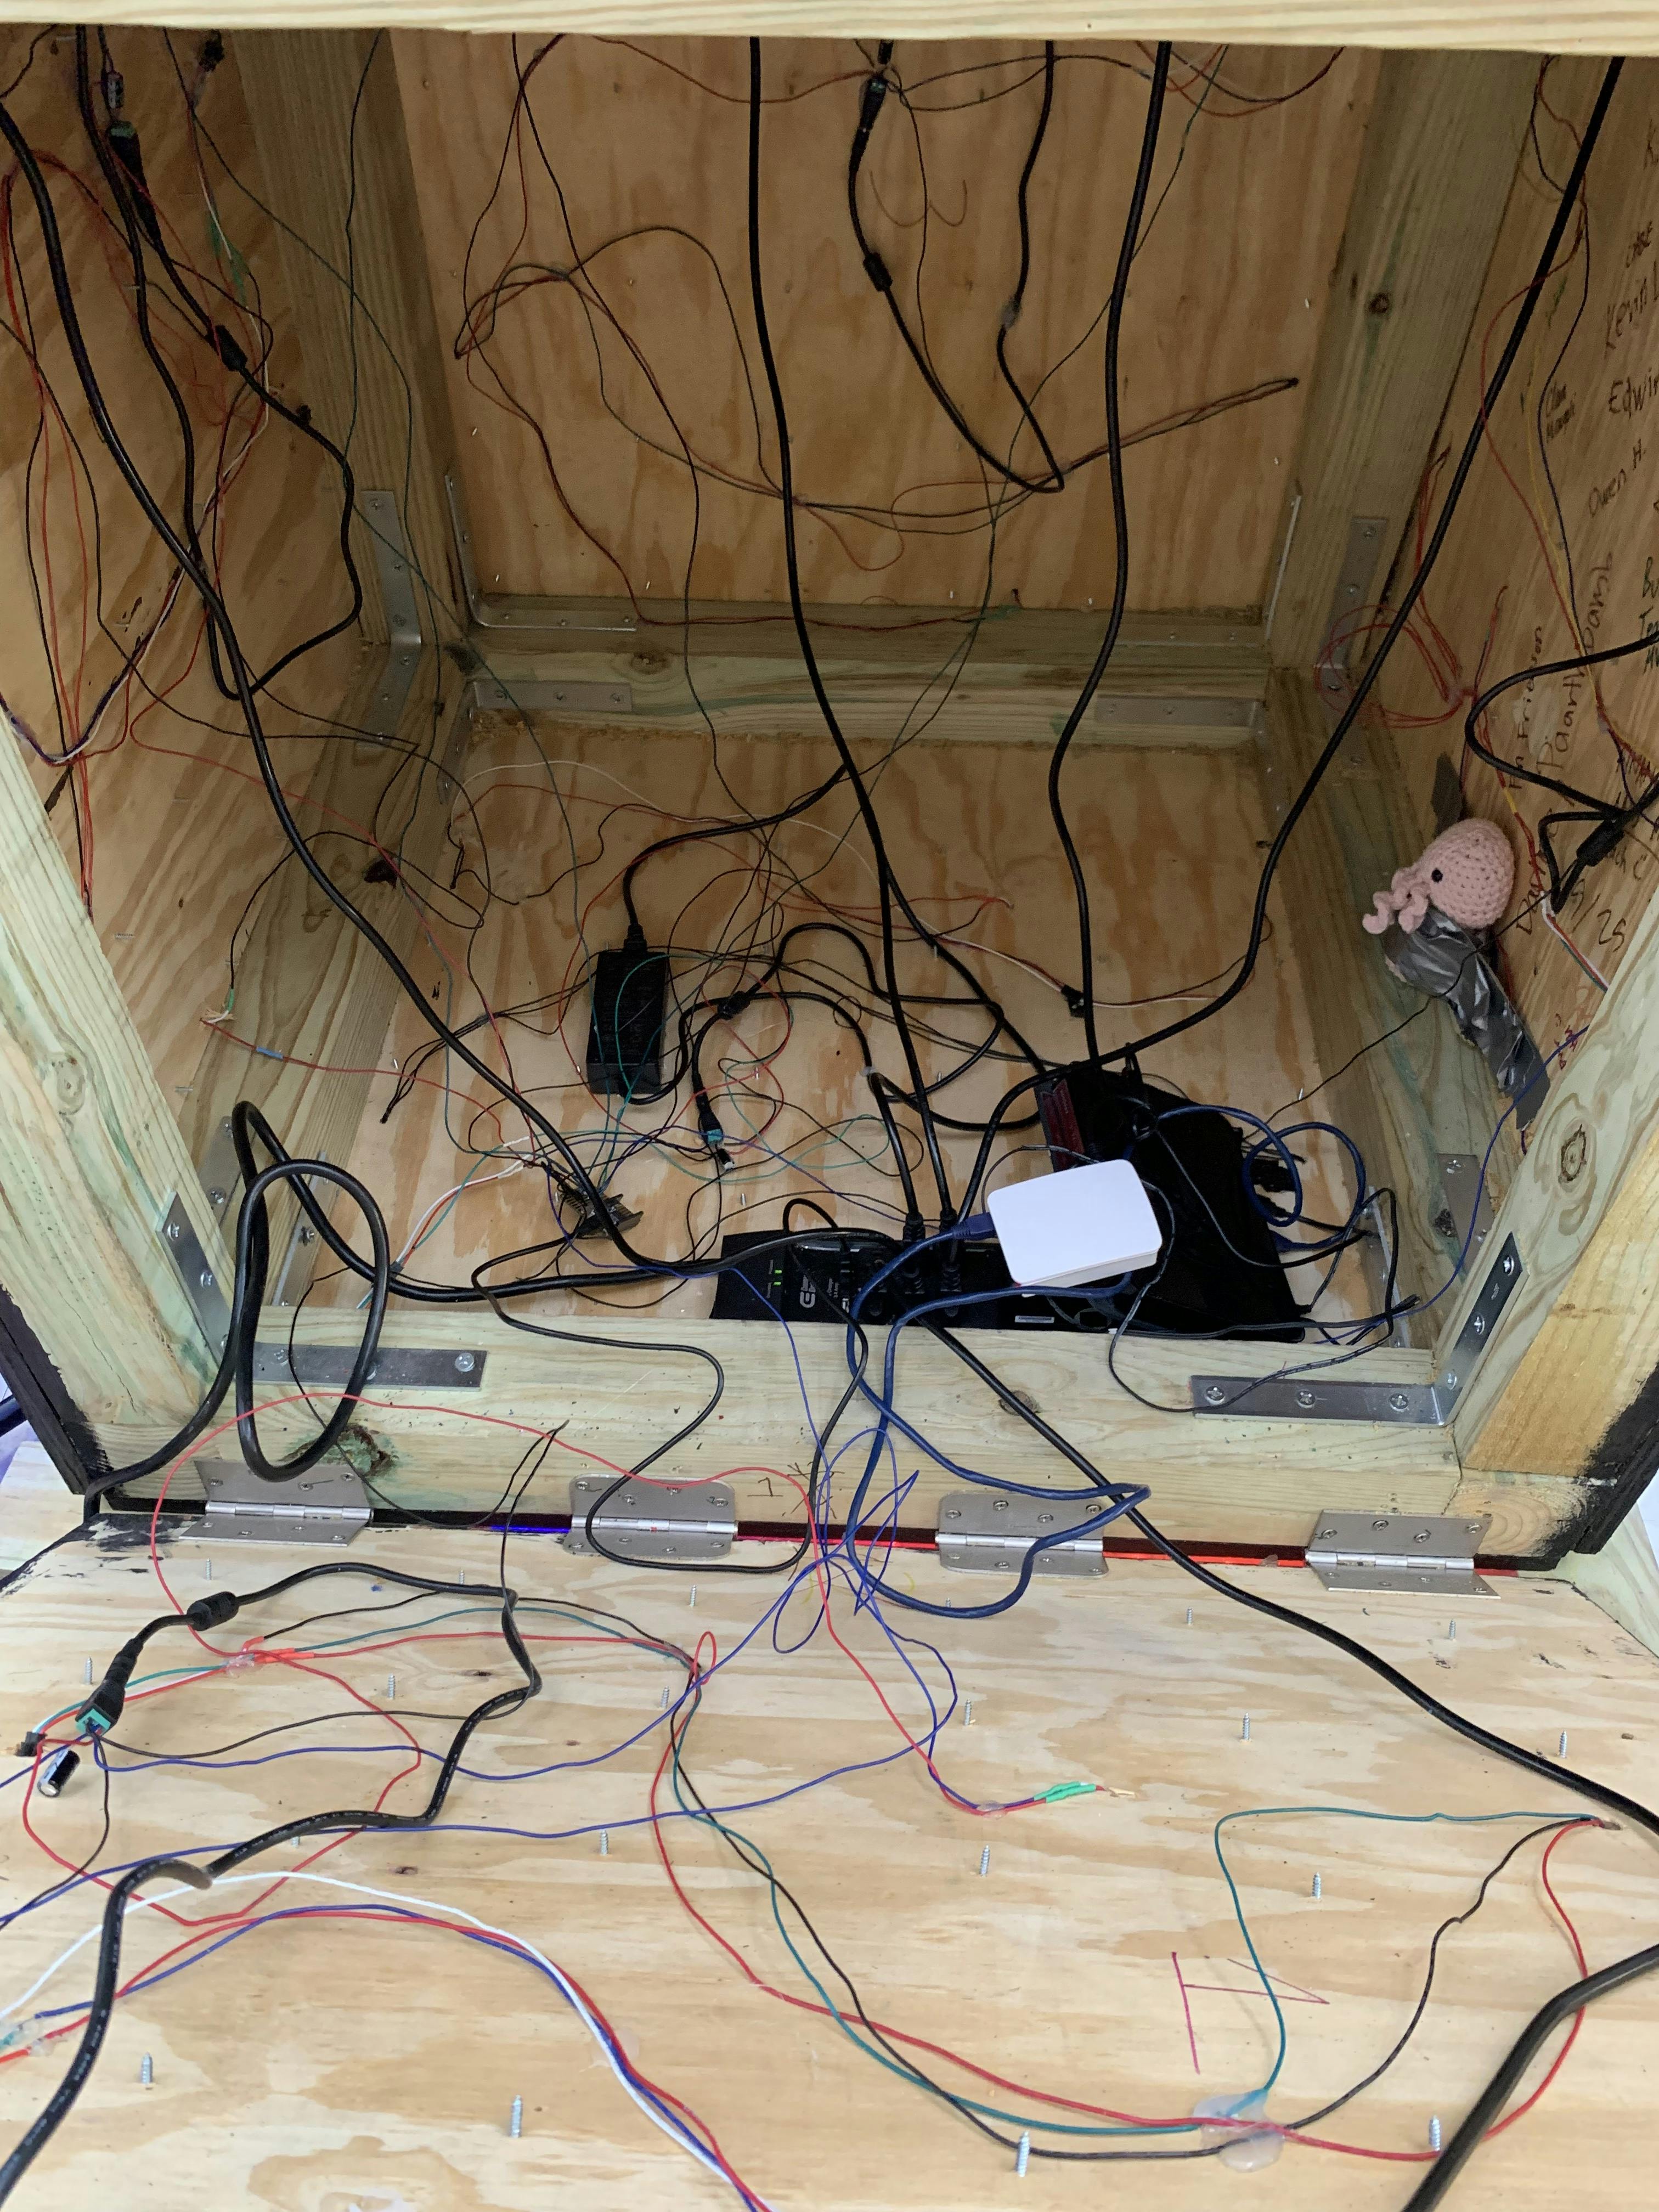
All the lights are run from a single microcontroller, which receives commands from a Raspberry Pi. The Pi is wired to a router and runs a web server, and you can control the light patterns by connecting to the server through the router's Wifi network. (If you want more details, see my first post)
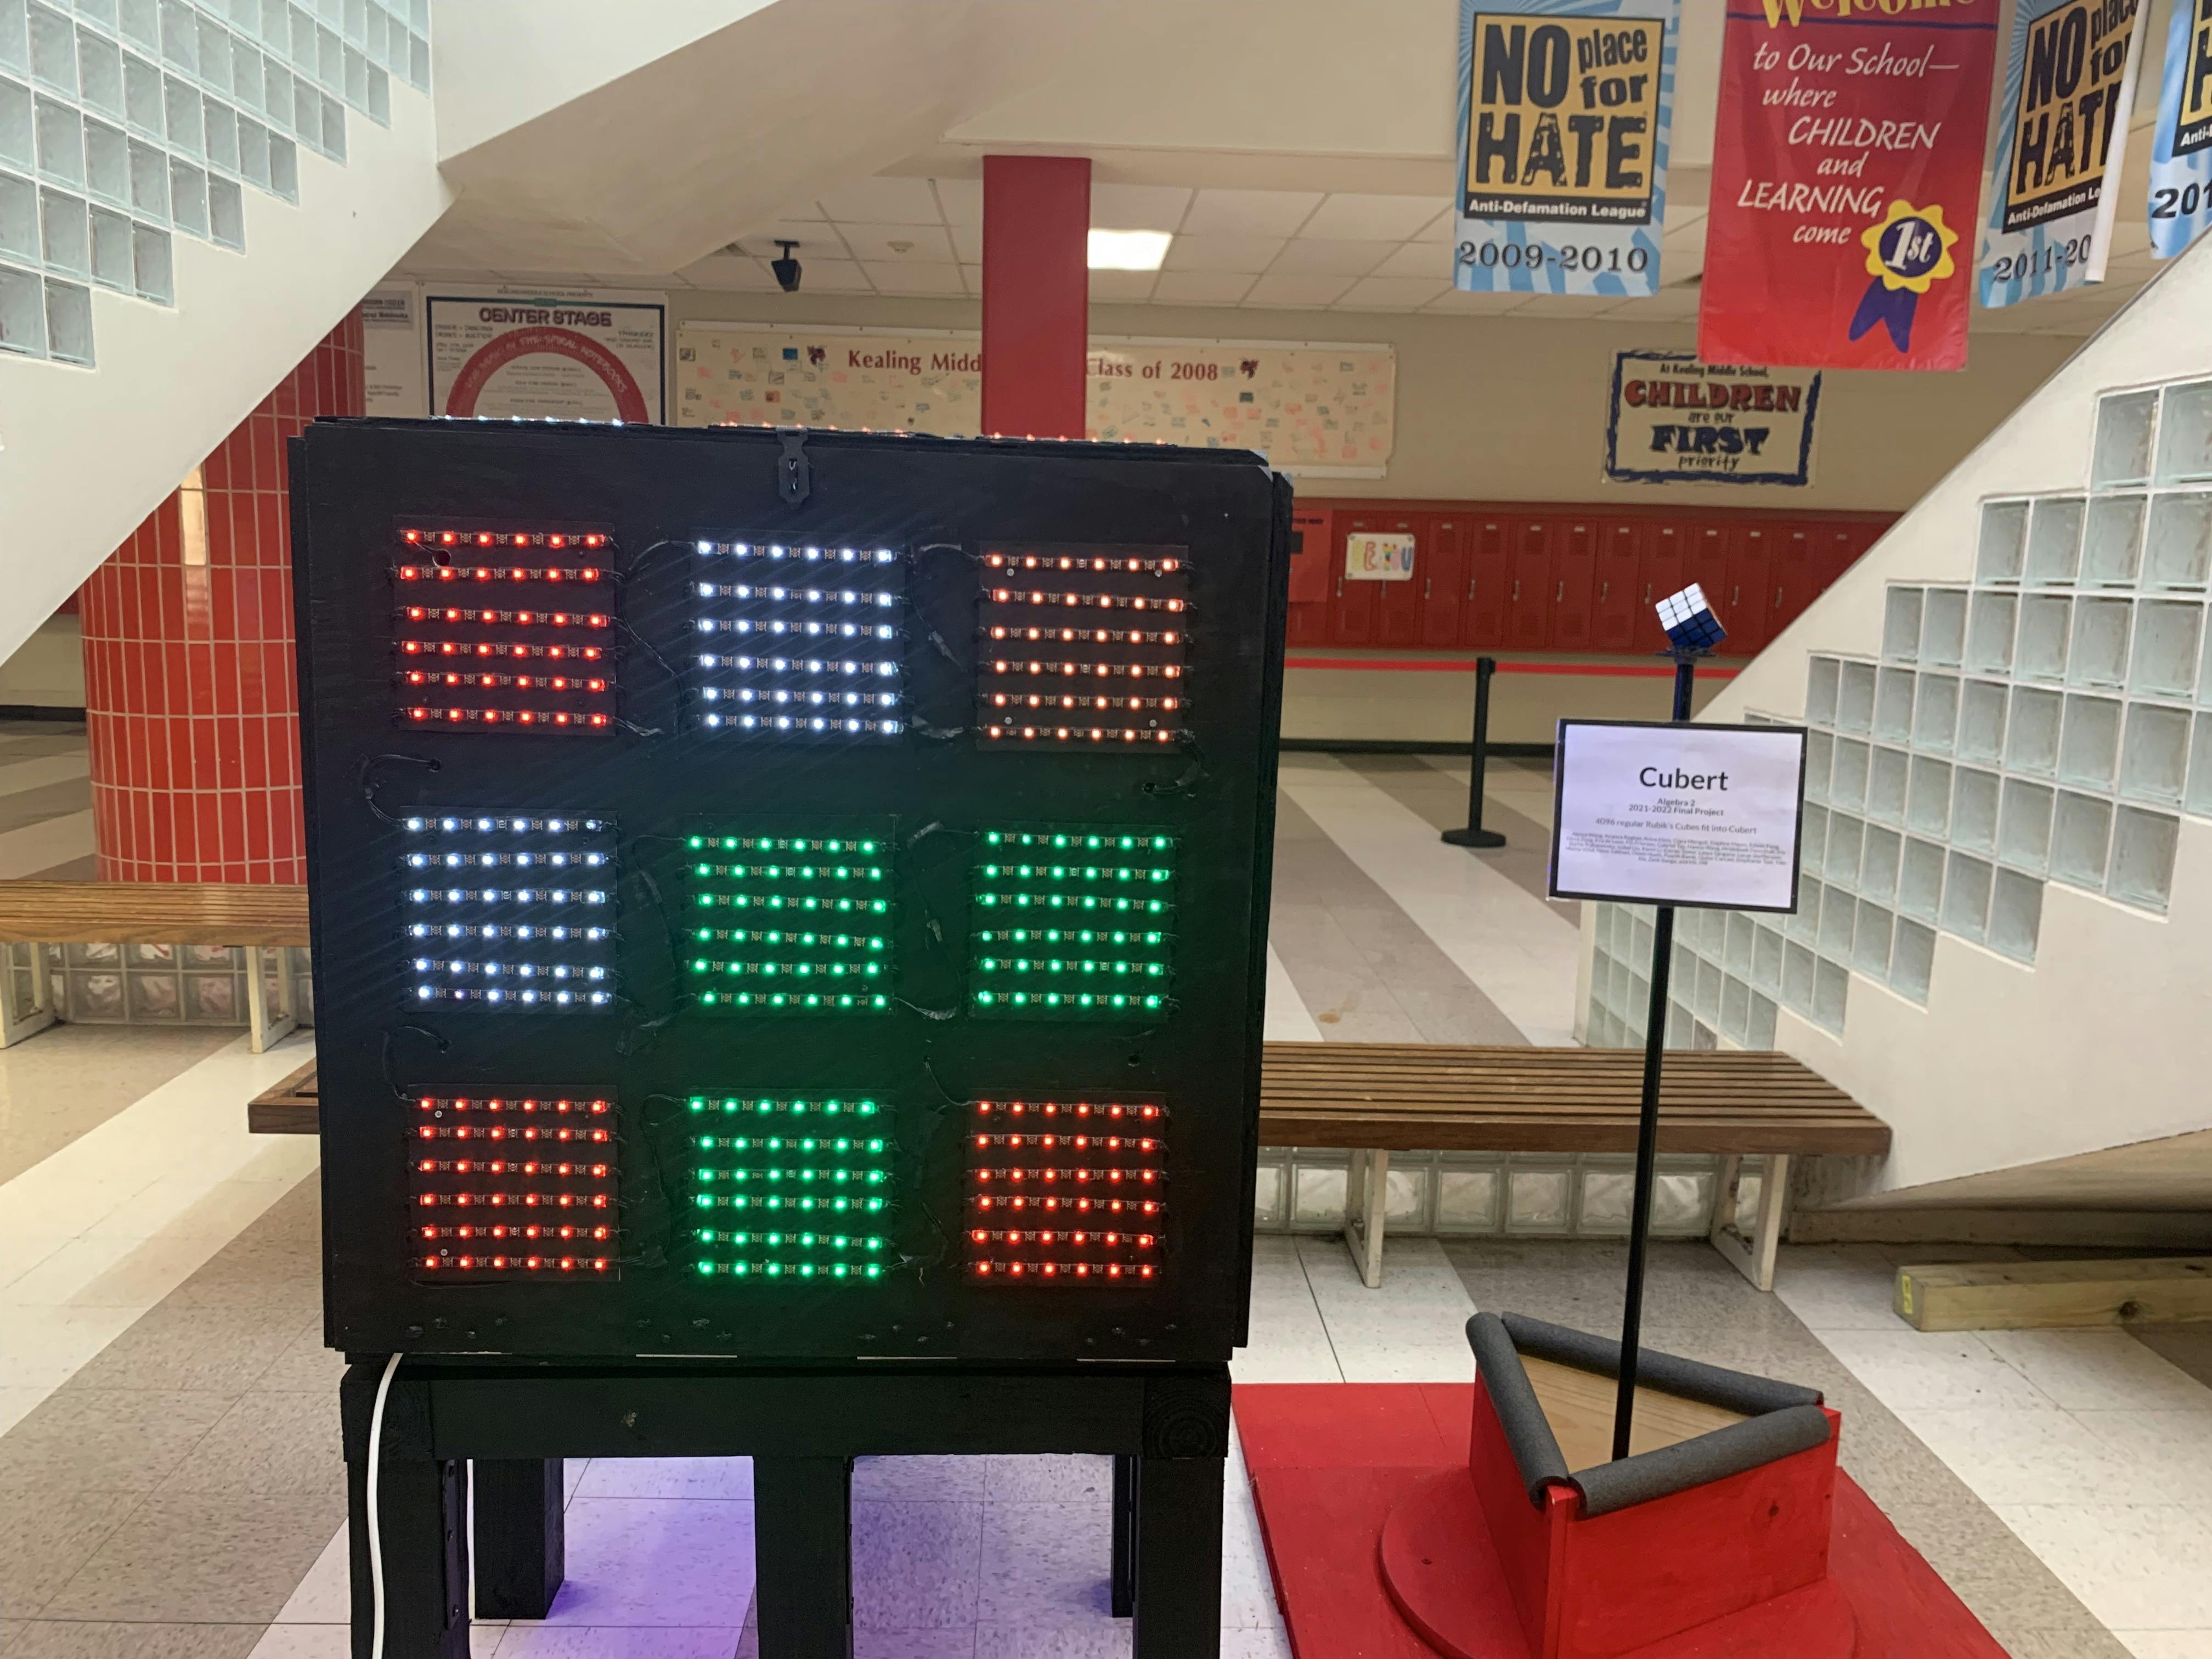
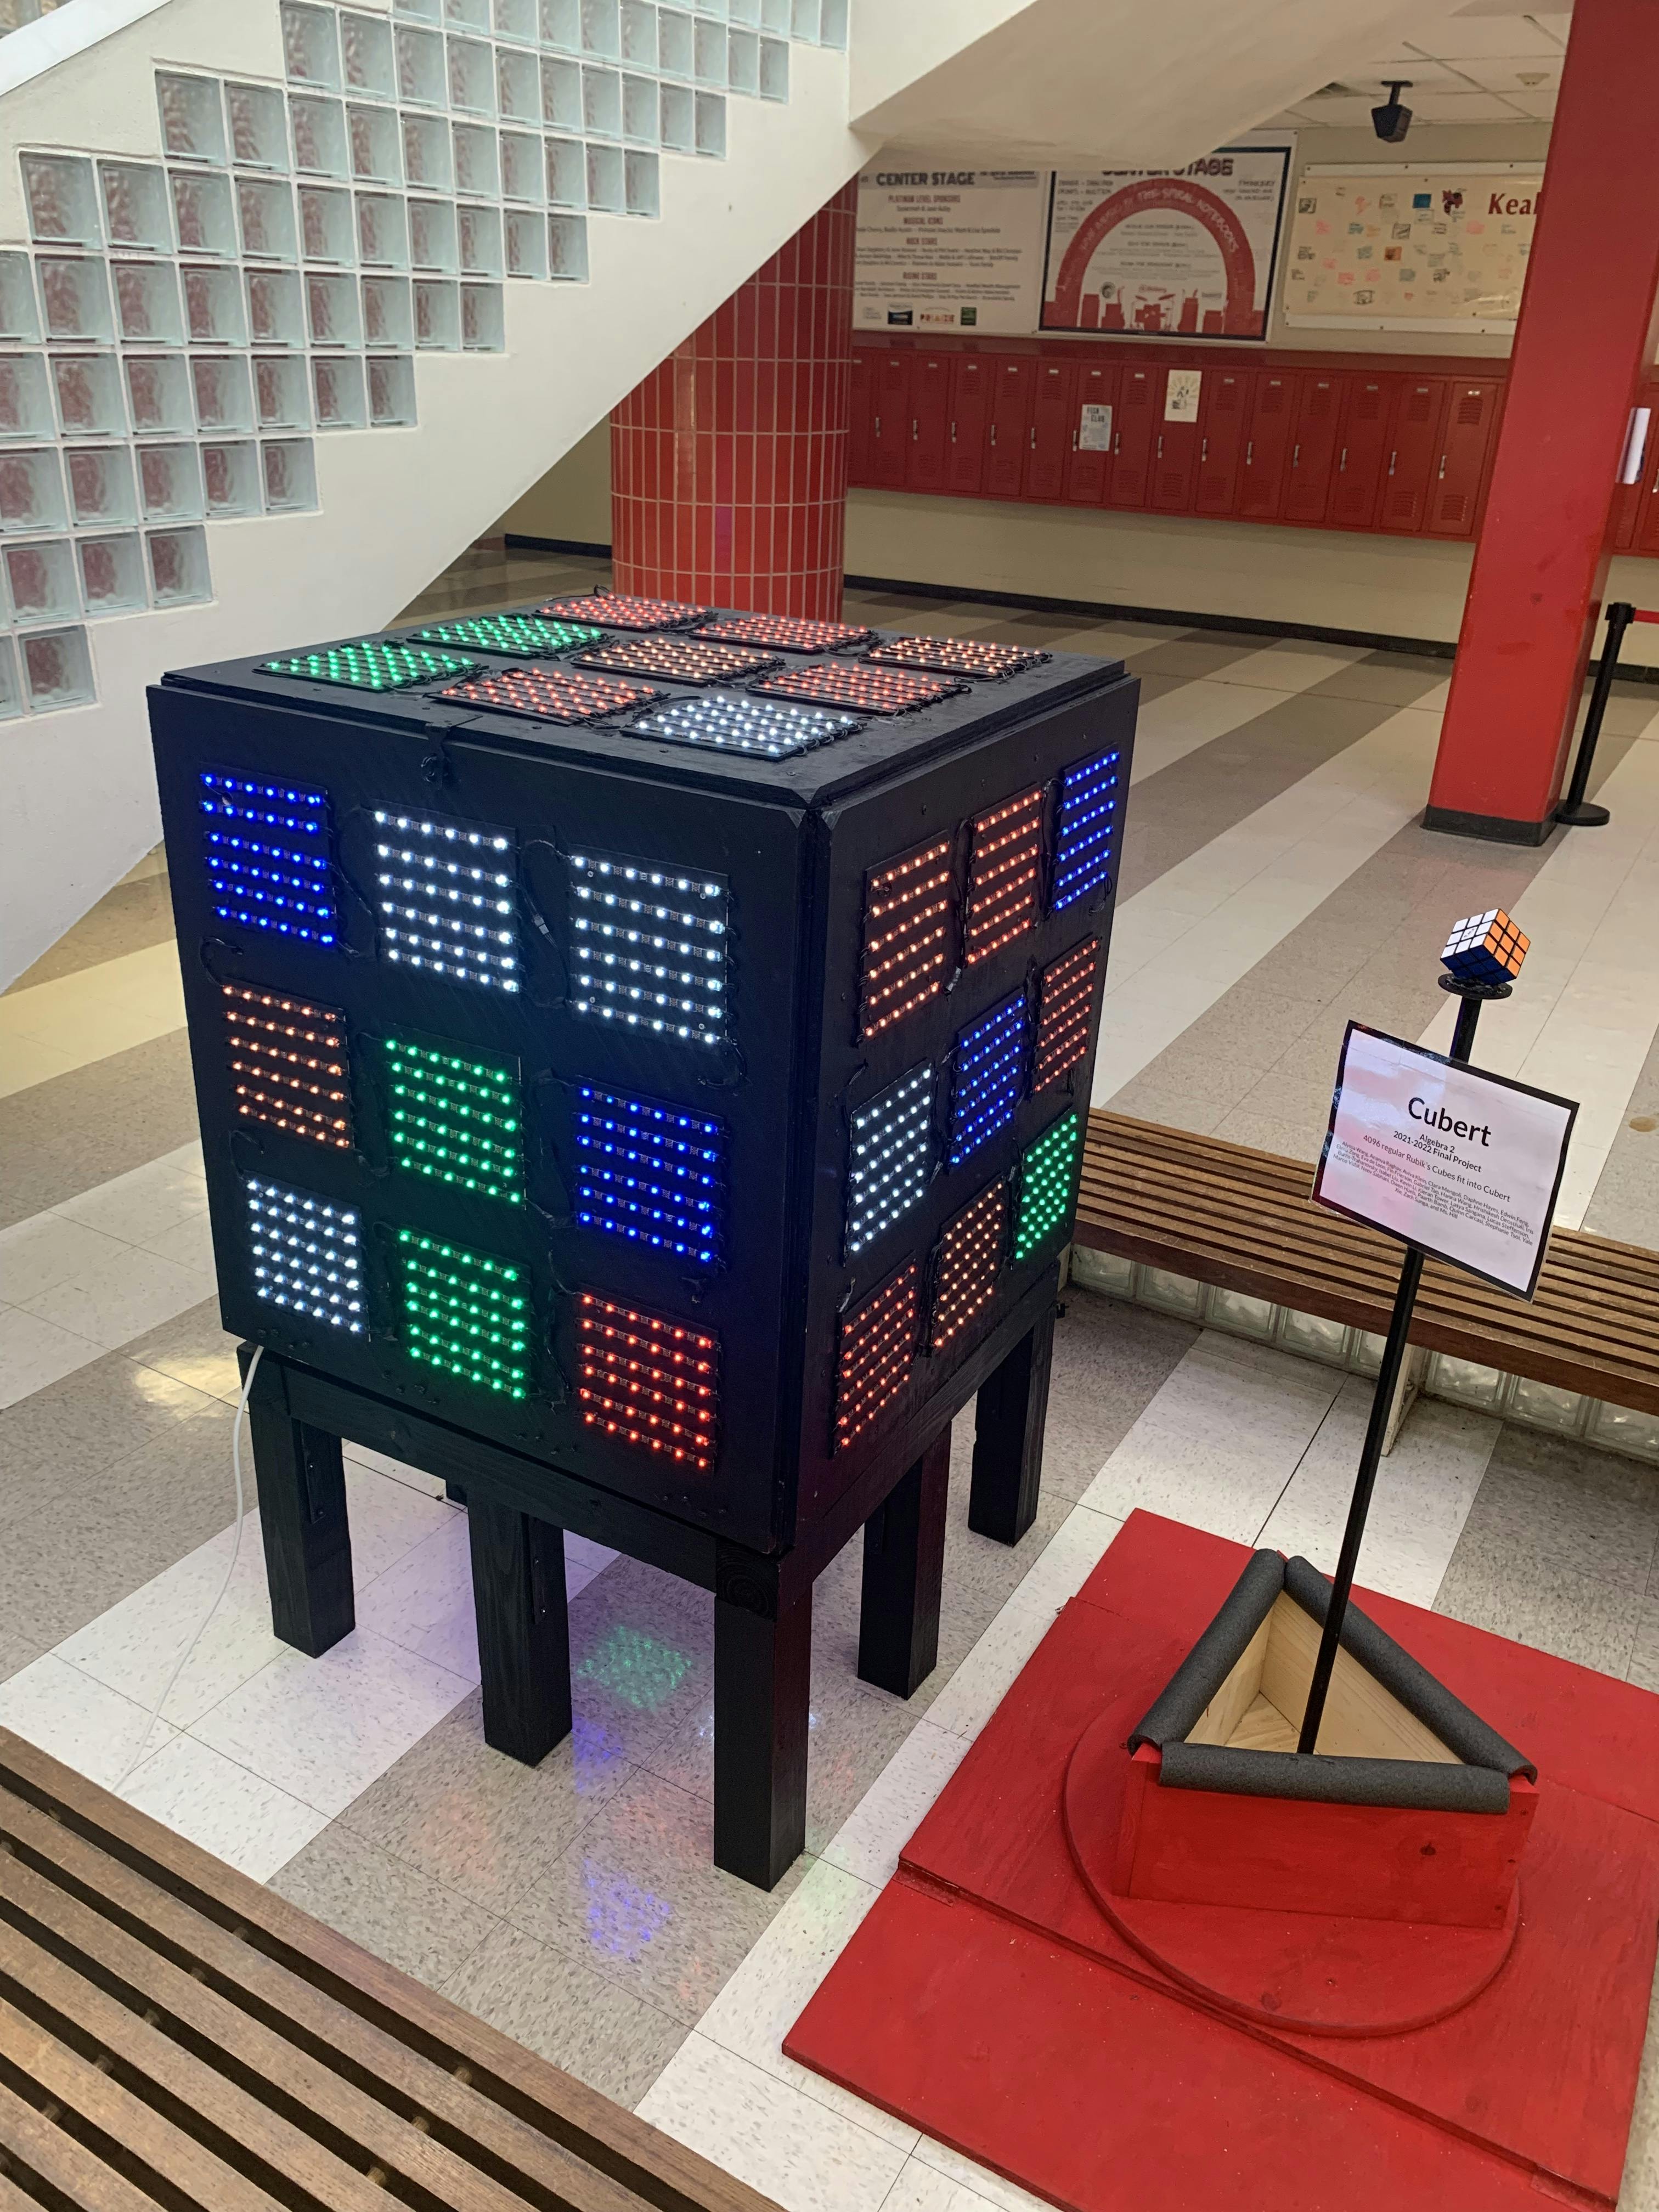
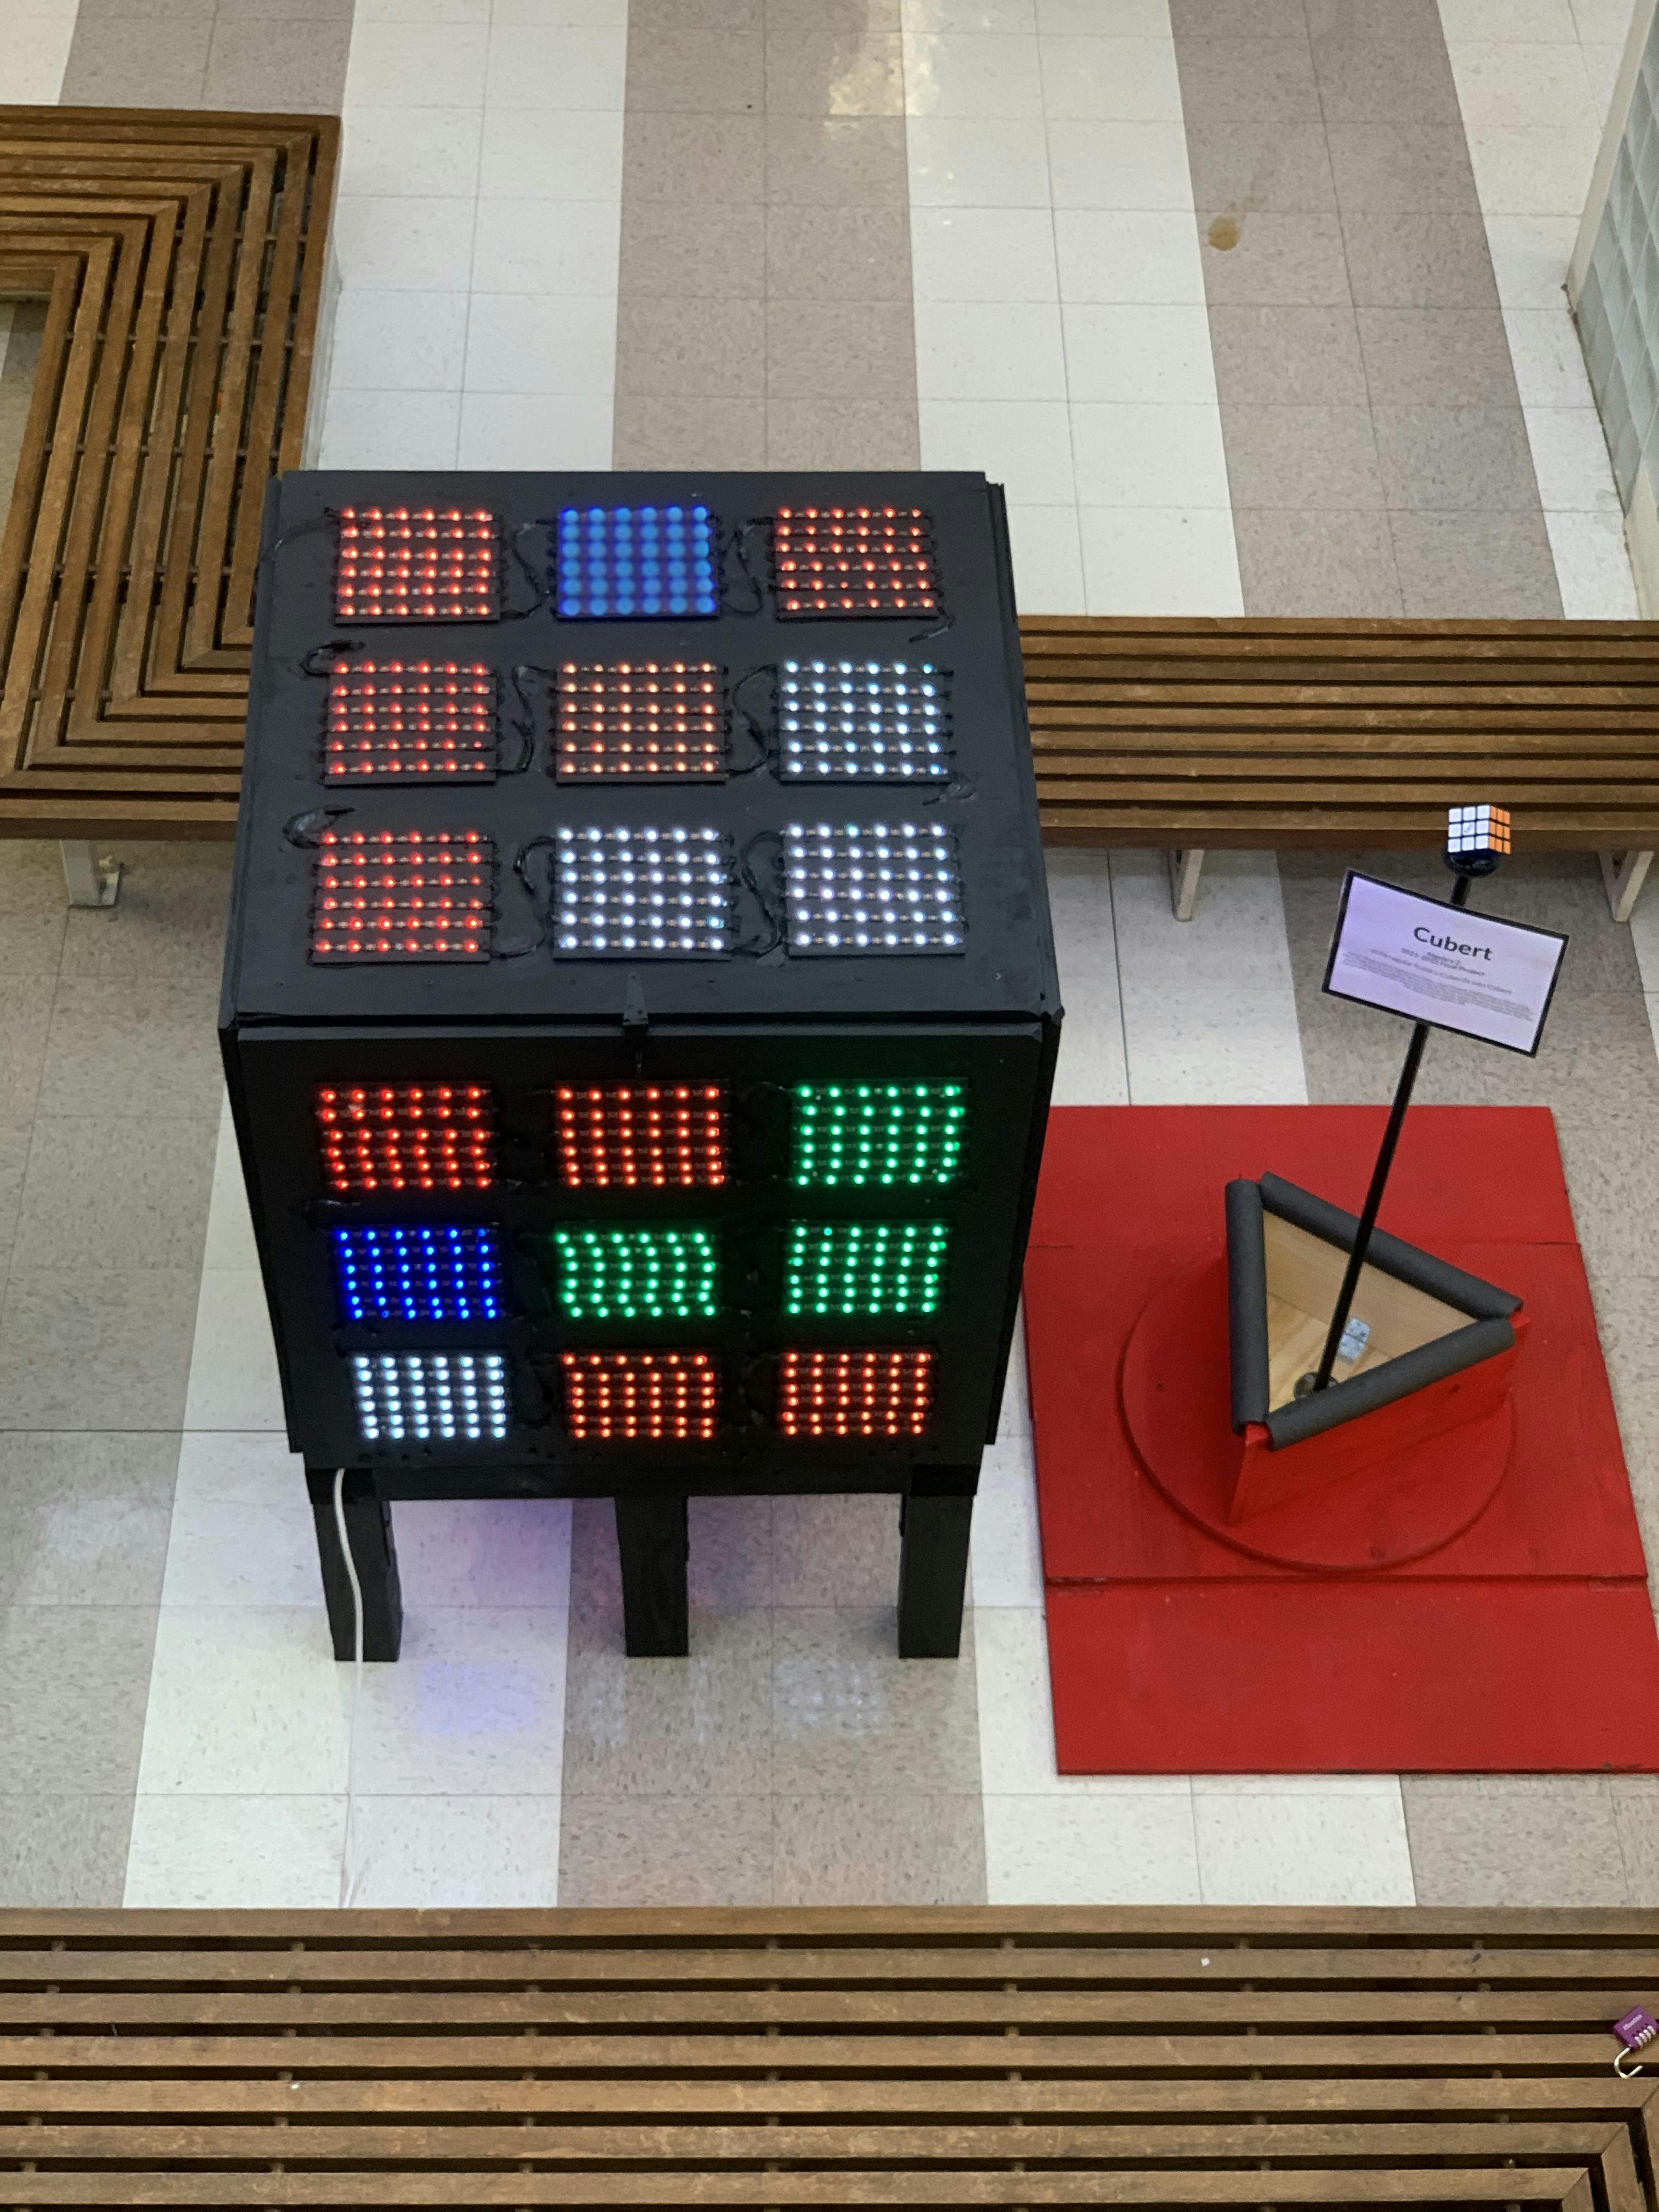
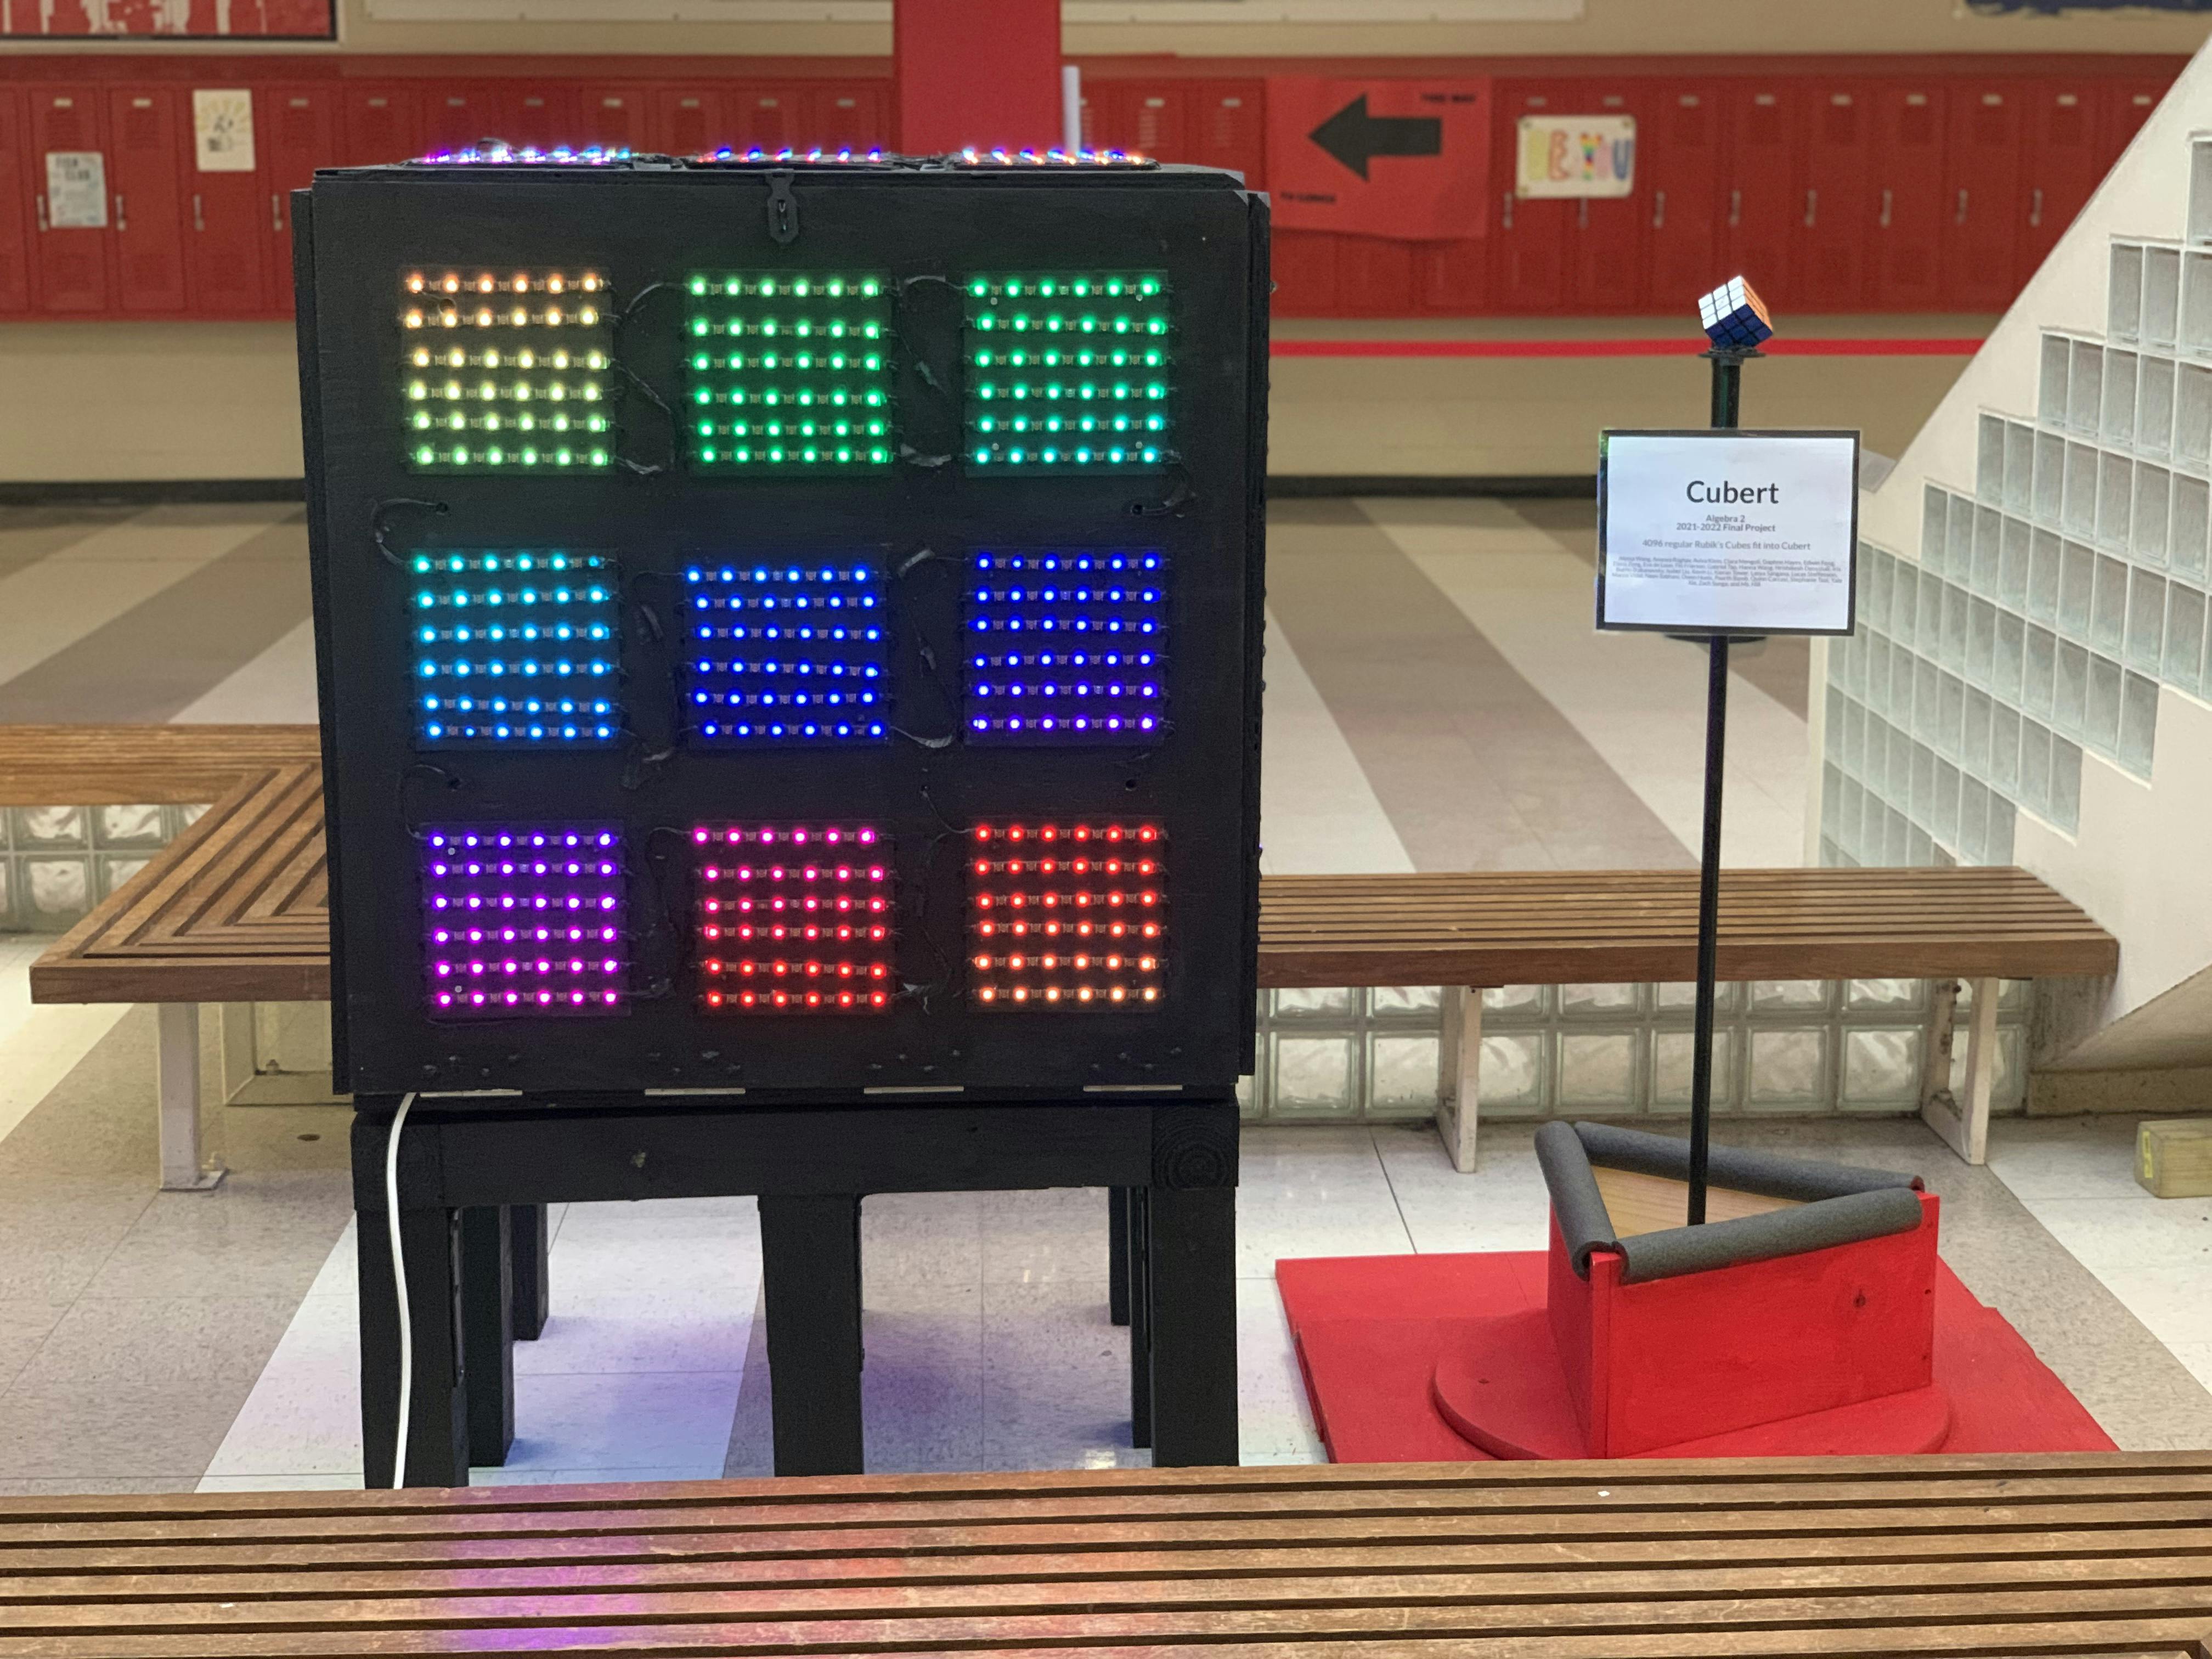
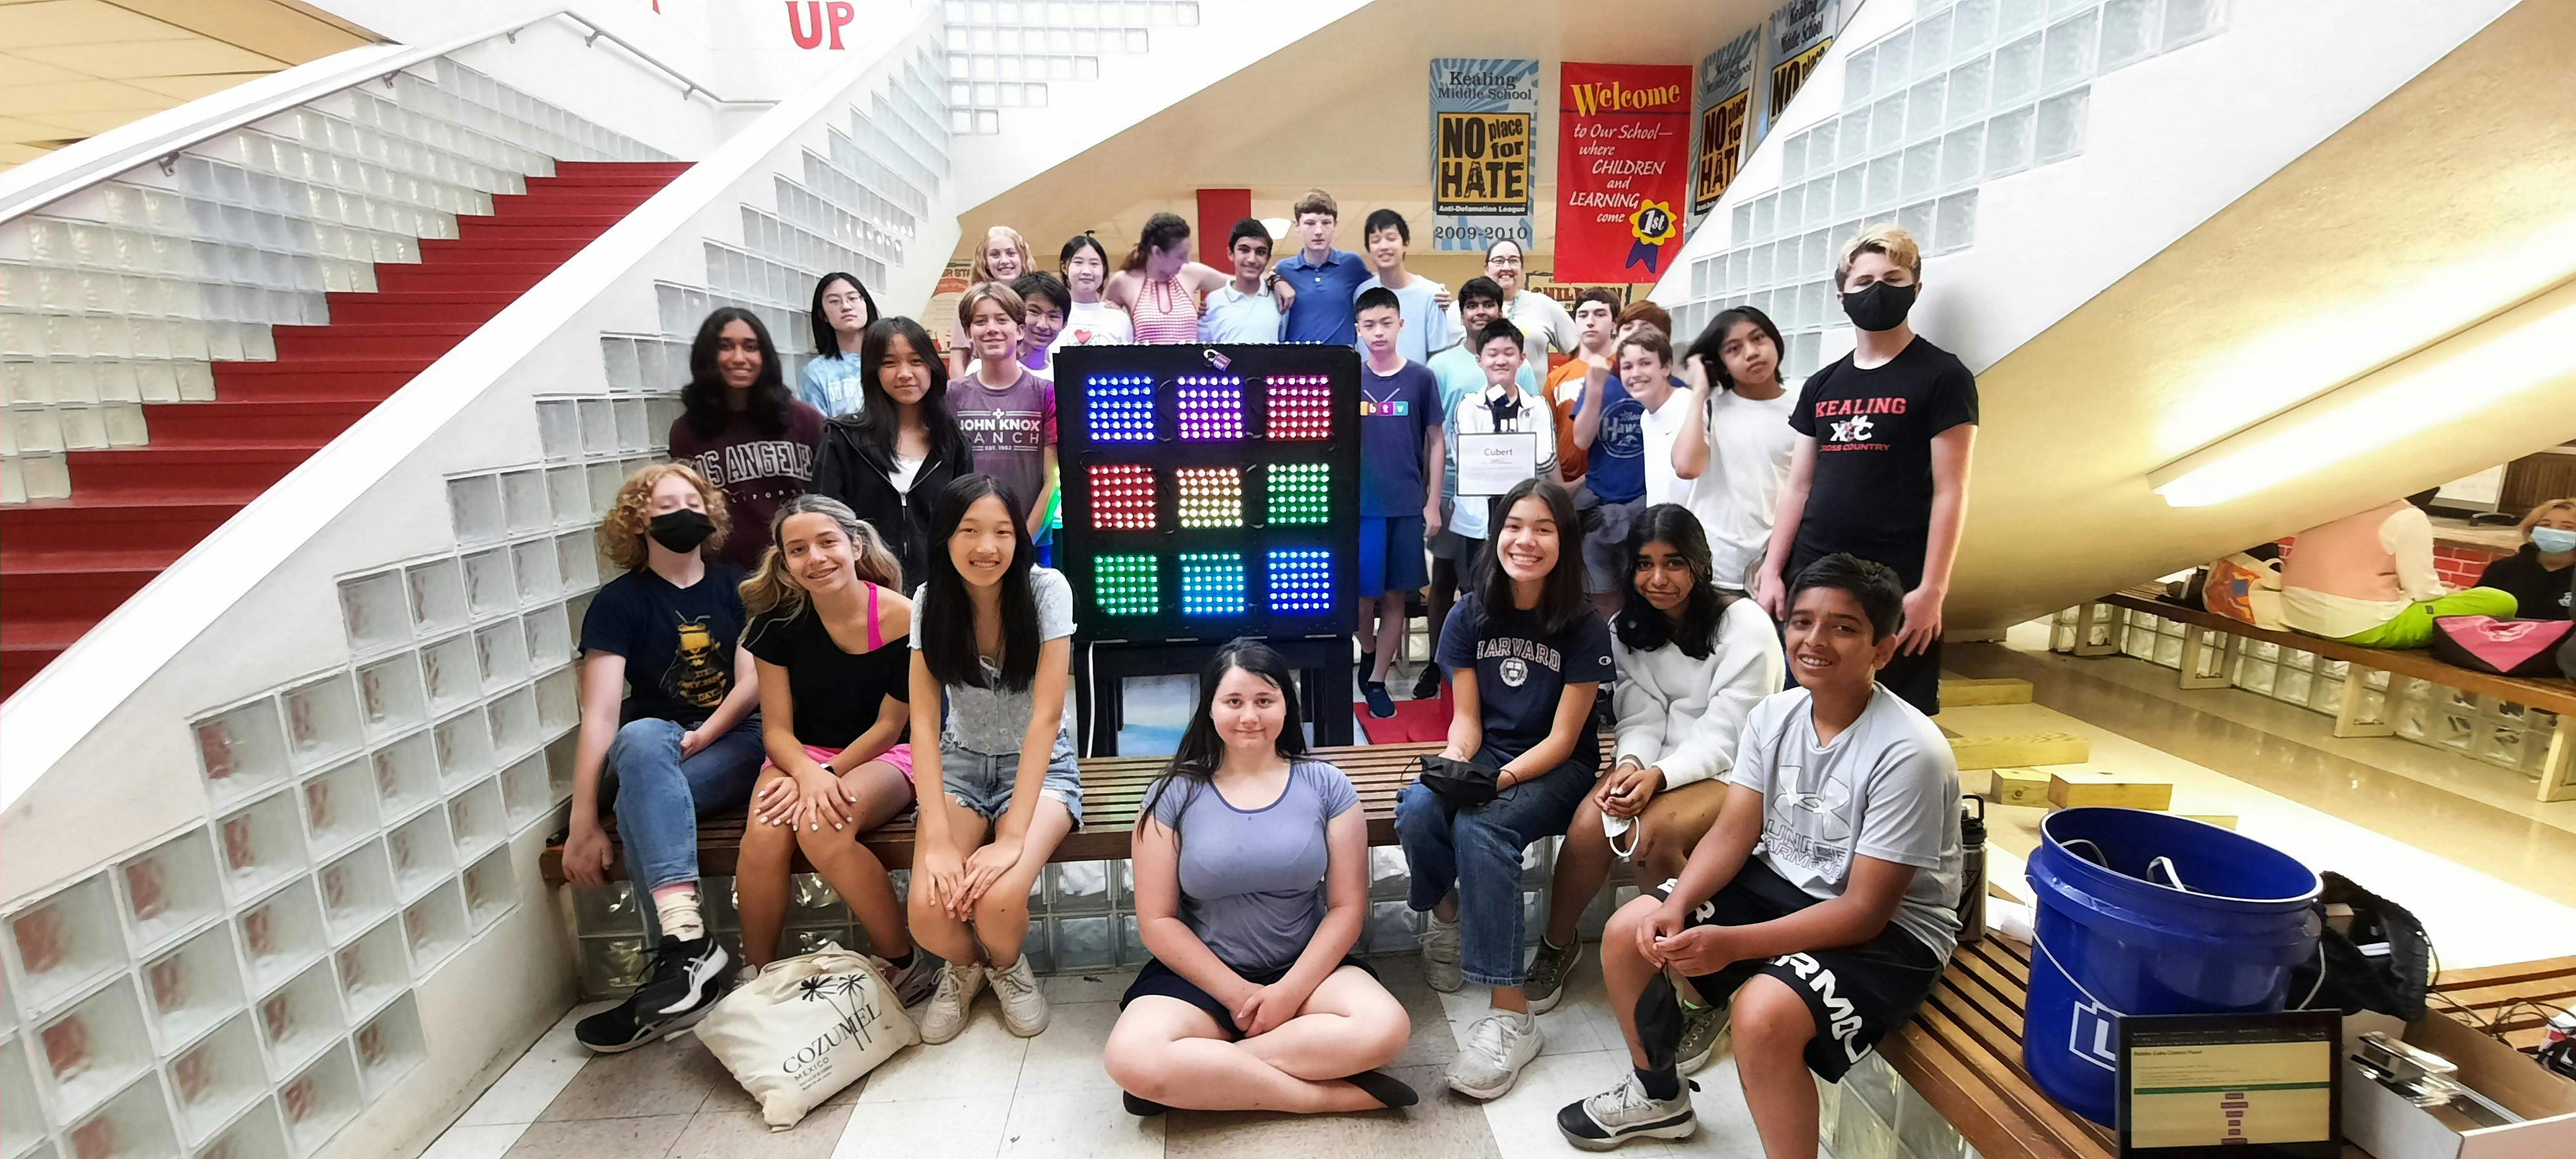
The cube, officially named "Cubert" (please don't ask why), has been placed by the front staircase of Kealing Middle School and will remain there for future students to enjoy. The incredible light displays never cease to impress me - I often find myself rooted to the spot, staring at the NeoPixels' shifting, looping patterns for all eternity. To put it in other words, this thing is really dang cool.
Modes
Aside from the standard Rubik's Cube functionality, the lights have several other patterns and text that they can display, changeable from a web server run inside the cube itself and accessed by any device.
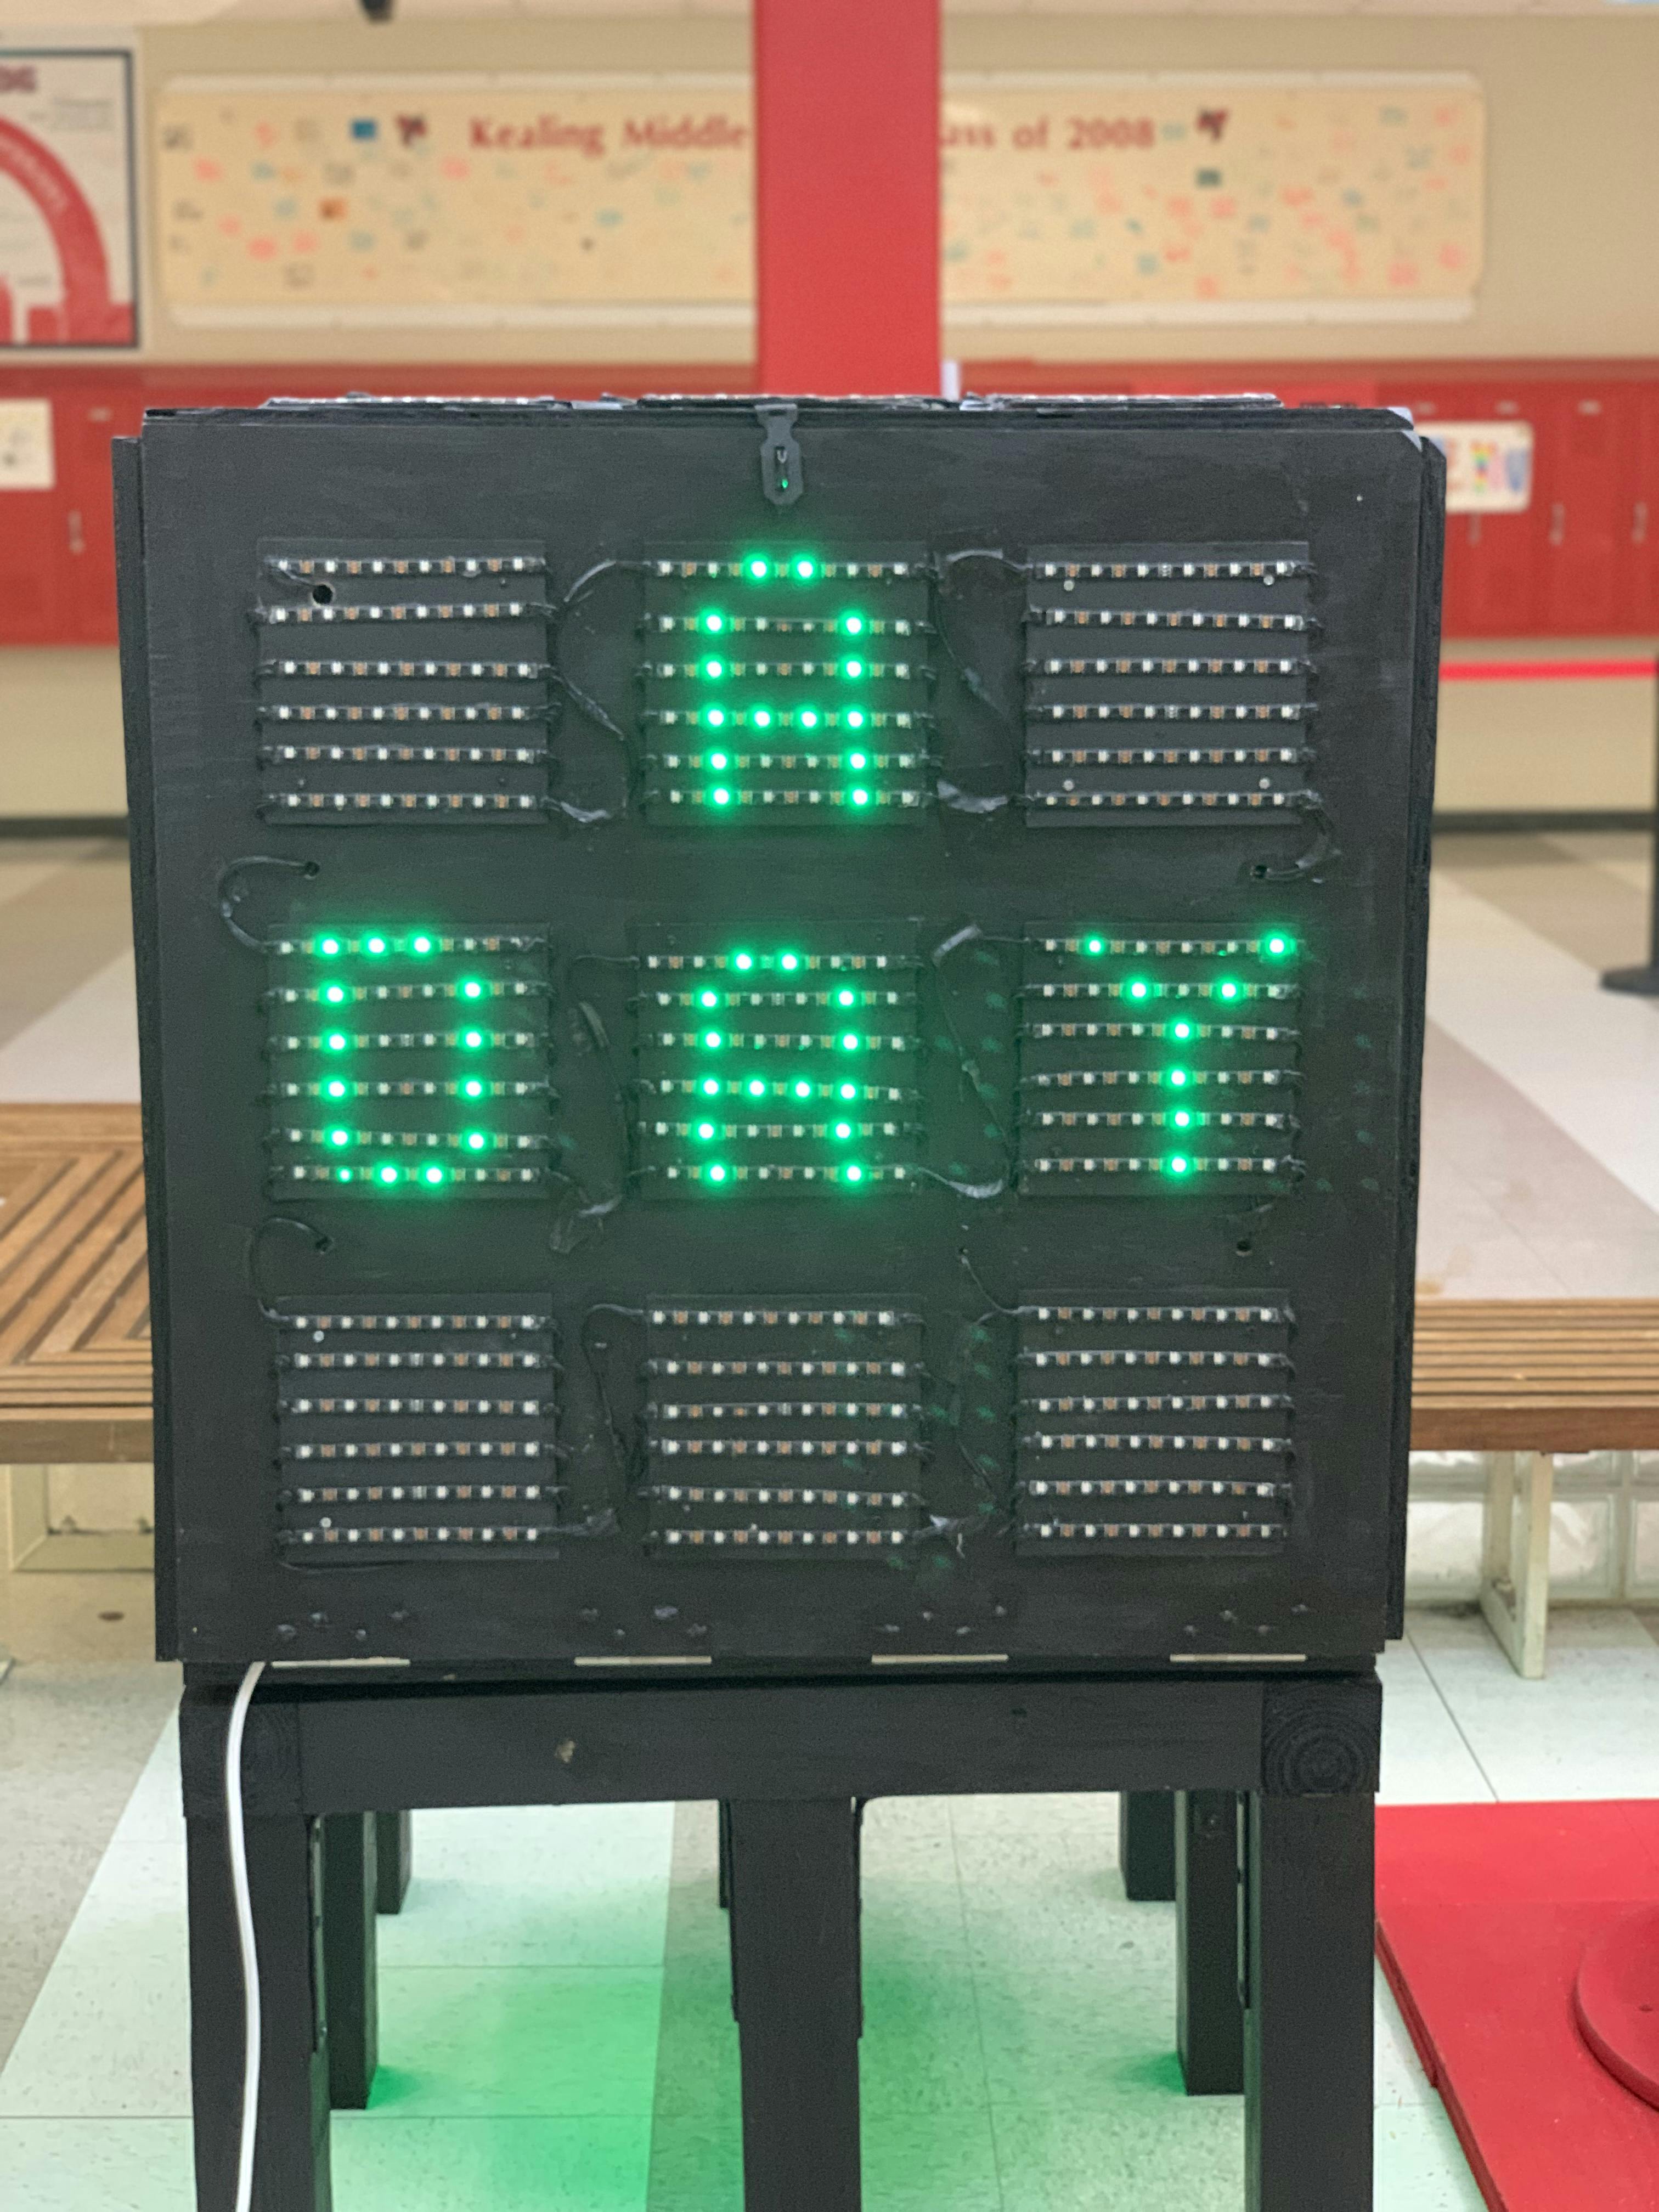
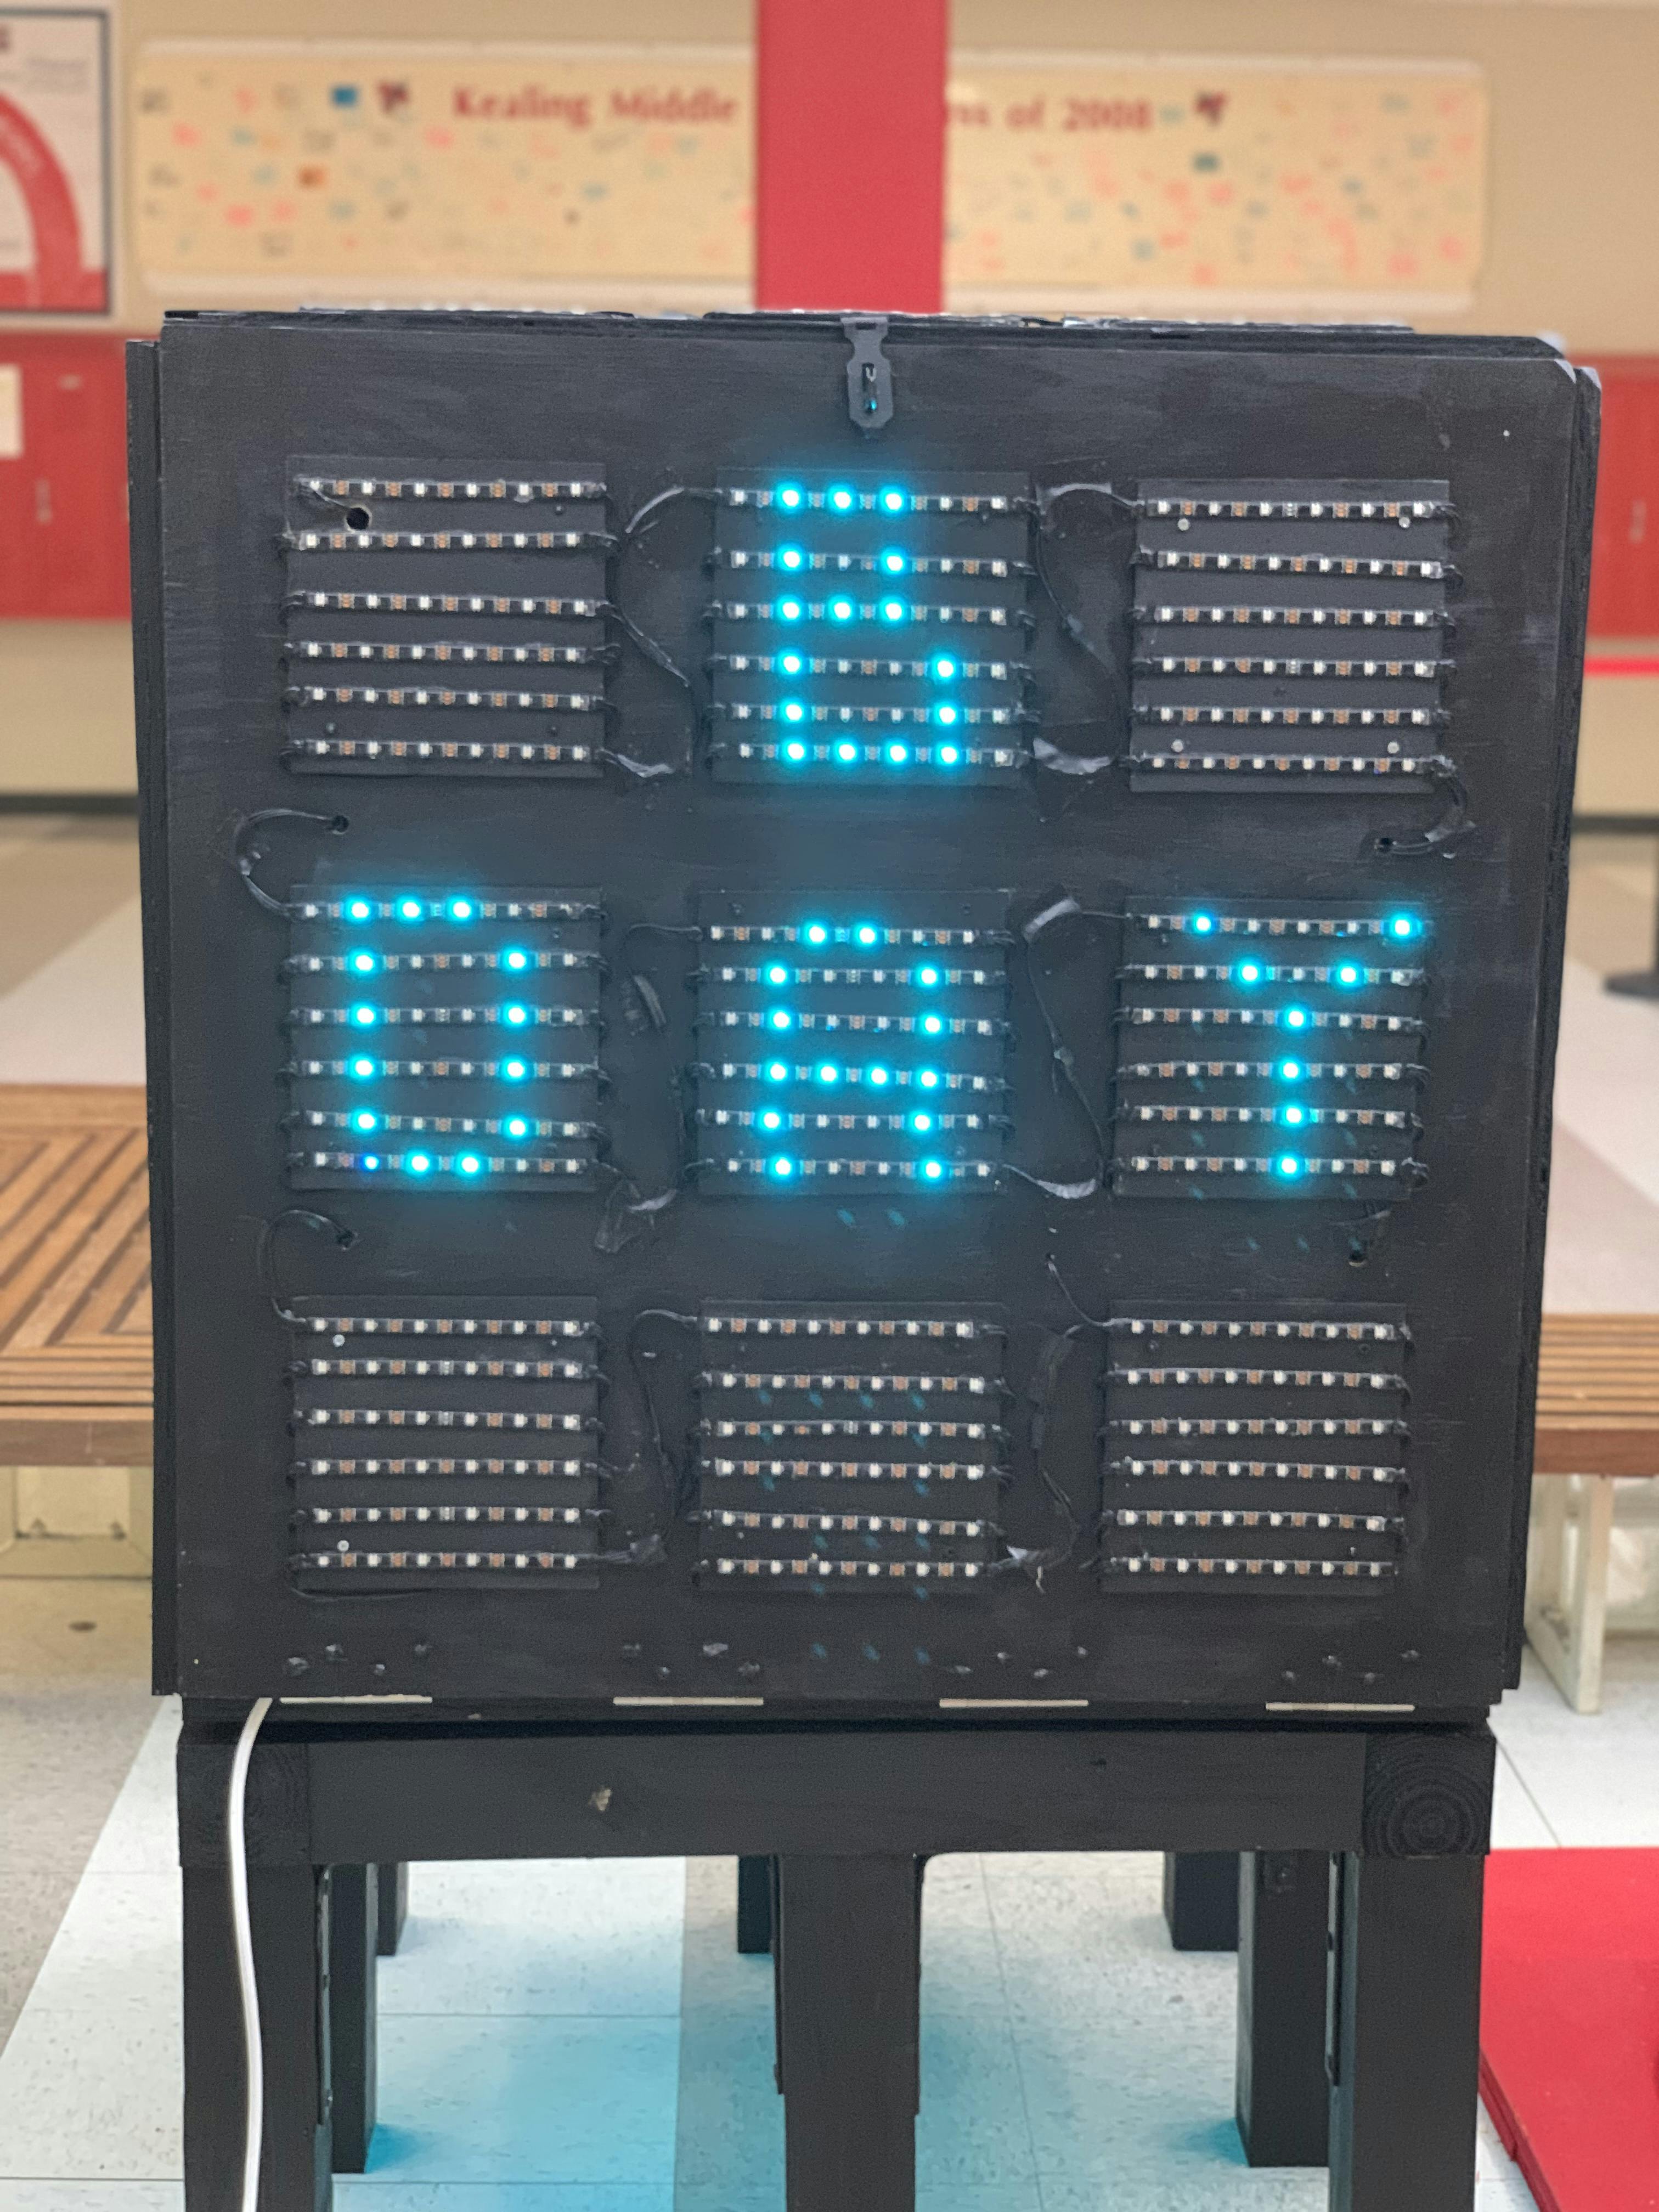
Sus Mode: Displays the letters SUS and a tiny 6x6 pixelated astronaut character on all faces, which loop through an ever-changing rainbow of colors - favorite of sixth graders and adults alike. I think it's probably a reference to some kind of video game....? ;)
A-Day/B-Day: Our school has a block schedule, which splits students' 8 periods into A-days and B-days. The text reminds students what day it is and which classes to go to.
Rainbow Flash: If you've ever worked with NeoPixels before, you'll instantly recognize this pattern. It's a version of the "strandtest" example program that floods the screen with a wash of rainbow color, slightly modified to work with our specialized hardware.
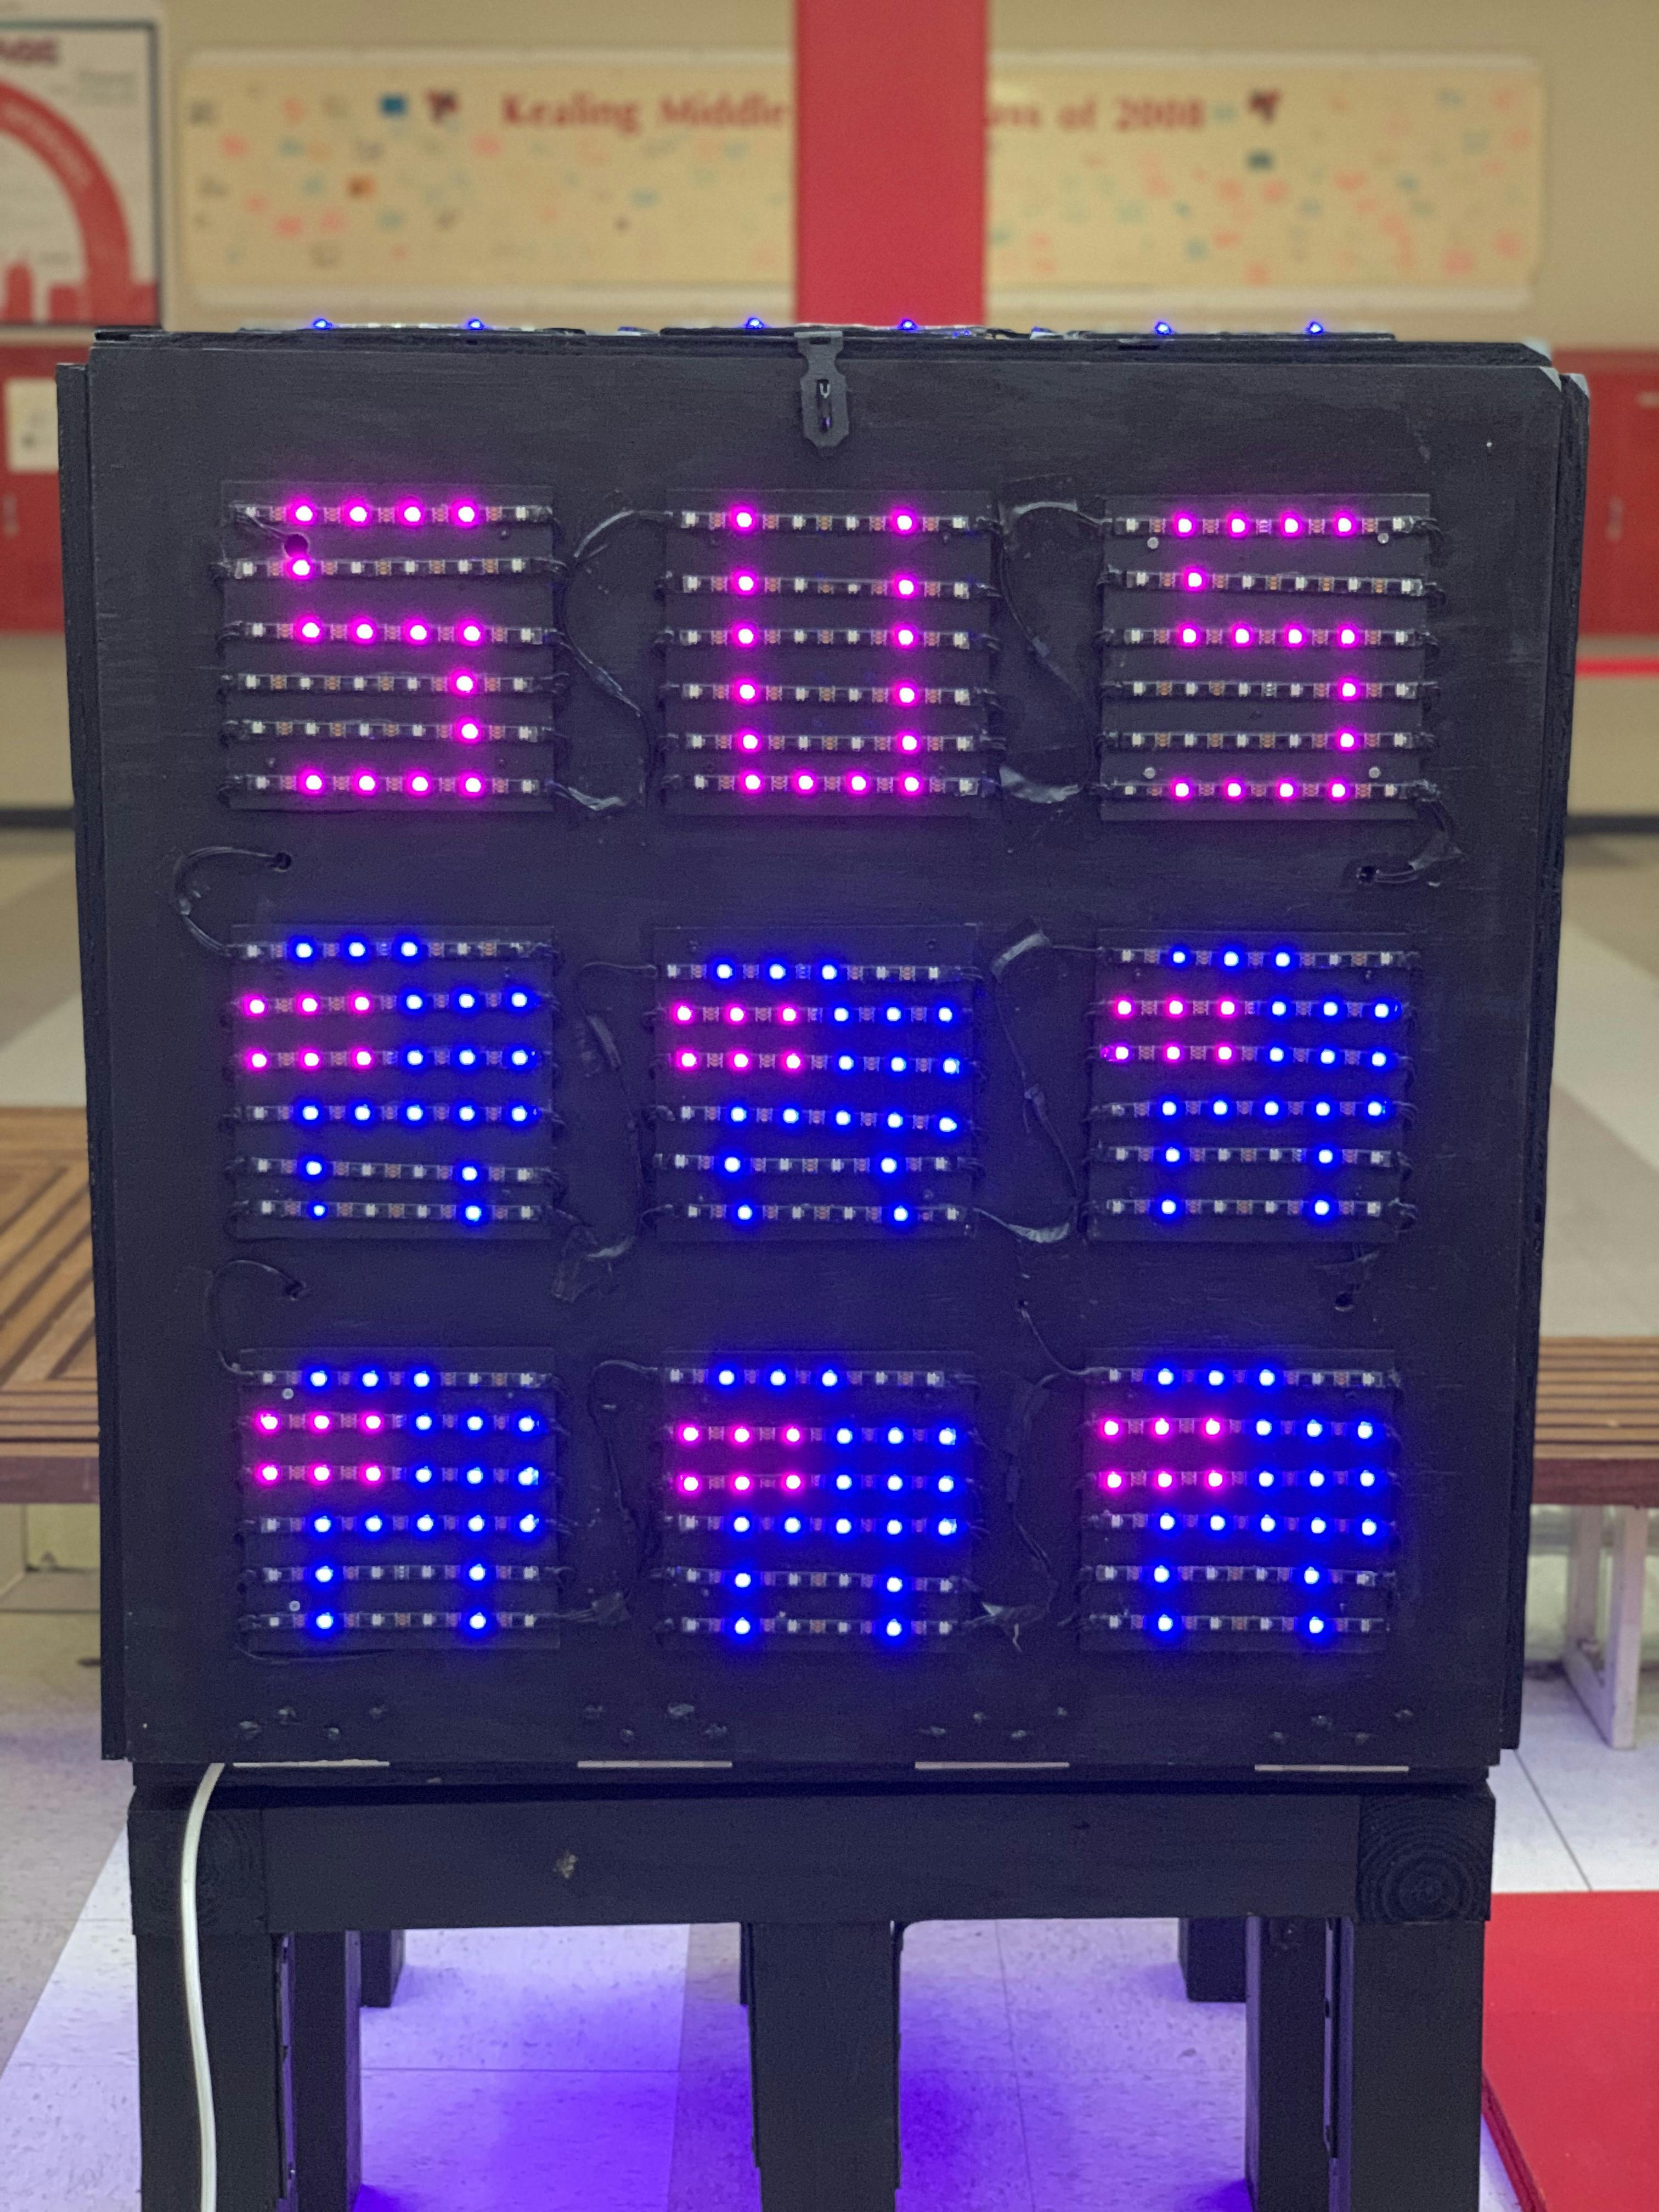
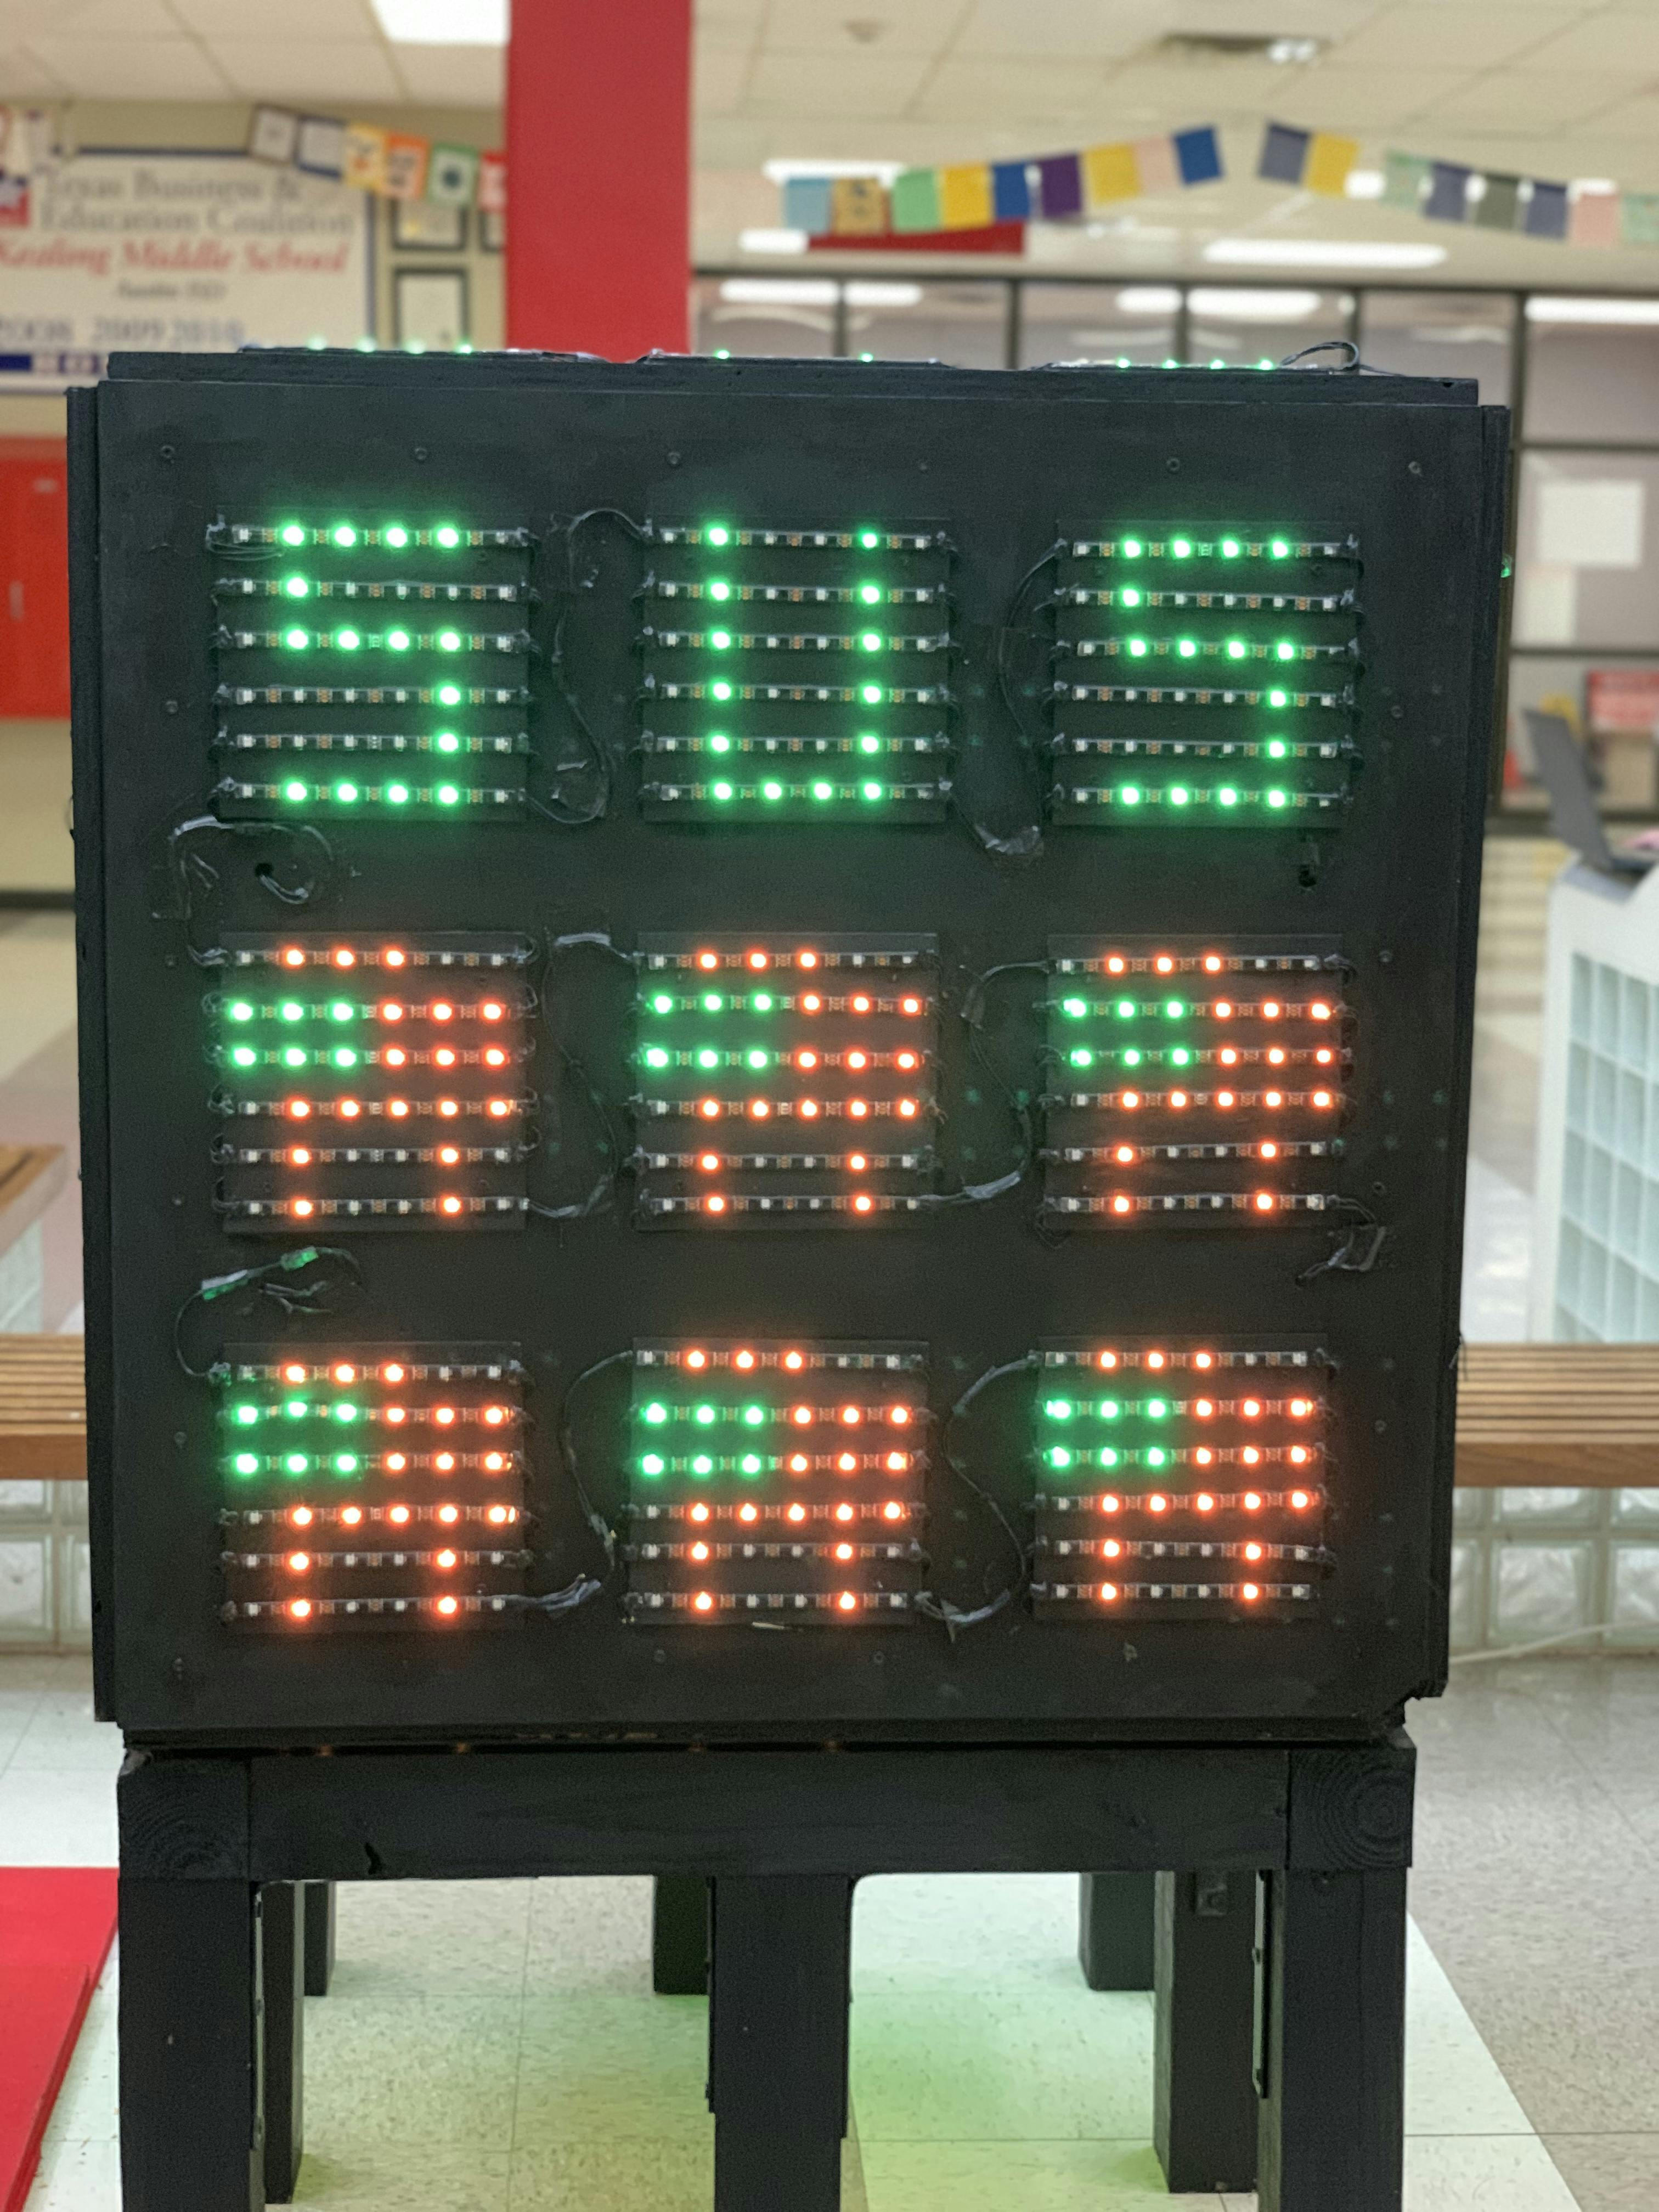
Last of all and most importantly, the standard Rubik's Cube mode, which imitates the movement patterns of a 3x3x3 cube and infinitely scrambles itself randomly. It was the hardest to code and work with out of all the modes above, albeit initially not as impressive as the rainbow flash.
Photos
Alright, enough of me tooting my own horn and blabbing about the project - a picture is worth a thousand words. Here's a photo/video gallery of both our work in progress and the finished product.
Roadblocks
As expected when you're trying to build a humongous, three-dimensional light display, we encountered some temporary setbacks; here are just a few.
Initially, the build team had planned to place the finished cube on a triangular base, standing it on its corner so that all sides would be visible. After the long process of purchasing, building, and painting, we lifted the cube onto the base - and it started precariously wobbling around, too unstable to stay on the stand. To make things worse, it happened during the second-to-last day of school. We ended up completely ditching the idea and building a new, simpler square-shaped base in one day. The triangular base did end up becoming useful, though; we used it to hold a plaque and a normal-sized Rubik's Cube for scale.
To make the 6 by 6 grid of lights, we used strips of Neopixels (30 per meter) cut into lengths of 6 lights each. Six strips would be arranged into a grid on each 8-inch wooden panel, then each panel would be affixed to the cube. The hard part that set us back a few days was trying to get the light strips to stick to the panels. The strips came with a built-in adhesive, which fell off overnight. We tried using hot glue which was messy and had pretty much the same effect. Eventually, after trying several various adhesives, the art team emerged with very sticky hands and a Gorilla Glue concoction that worked pretty darn well.
As explained in Part 1 of this post, the plan for the Rubik's Cube mode was to make a frame-by-frame animation that made the turns of the cube seem more realistic. After trying to hard-code in every pixel possible, we ran out of memory (all 192KB) and threw the idea out the window during the last week of school. Now the lights will just teleport around and turn instantly, but it ended up looking great anyway.
Shout-outs
Members of the 2021-22 Algebra 2 class are below:
- Build Team: Marco, Fin, Aviva, Edwin, Kieran, Clara, and Ananya
- Art Team: Elena, Isabel, Lasya, Iris, and Alyssa
- Finance/PR Team: Daphne, Eva, Yale, Hanna, and Zach
- Code Team: Me, Neev, Kevin, Owen, Rishy, Lucas, and Quinn
Special thanks to Stephanie and Paarth for managing the project and keeping it on track, and to Ms. Hill for poking holes in all our stupid ideas. We couldn't have done it without you.
Closing thoughts
This project has been one of the biggest challenges of my life. I've learned so much through this project not only about engineering or programming, but also responsibility, time management, dedication, and leading a team. The last few months of middle school have been extremely busy yet equally rewarding, and I'm so proud of what we've completed.
I'm also excited for the future of the cube - it's not just a big light display to marvel at; it's a symbol of the collective strength, potential, creativity, and uniqueness of students at our school. Our initial hope when designing this project was that it would leave a mark on Kealing and inspire future students to leave a mark of their own.